The Headwall Lakes hike in Peter Lougheed Provincial Park is a wonderful choice if you want a wilder, slightly more challenging hike than nearby Chester Lake.
While the trailhead shares the same parking lot as the Chester Lake hike, the two hikes feel completely different, with this one feeling more remote.
On the Headwall Lakes hike you won’t see many people, perhaps 10% of what you’d see on a typical day on the Chester Lake hike. The trail to Headwall Lakes – while obvious, is still more difficult than it is to Chester Lake.
And by difficult, I mean there is a steeper, narrow stretch with lots of handholds – but if you are a regular hiker, you won’t give it a second thought.
This post includes some affiliate links. If you make a purchase via one of these links, I will receive a small commission at no extra cost to you. Thank you very much for your support!
Headwall Lakes hike summary
Distance: 14 km (8.7 miles) round trip to the Upper Headwall Lake.
Elevation gain: 430 m or 1,411 feet.
Difficulty: Moderate. Kids over 8 who are regular hikers should be able to handle it.
Time needed: 5 – 6 hours
Map: Gem Trek – Kananaskis Lakes
Dogs: Permitted on a leash.
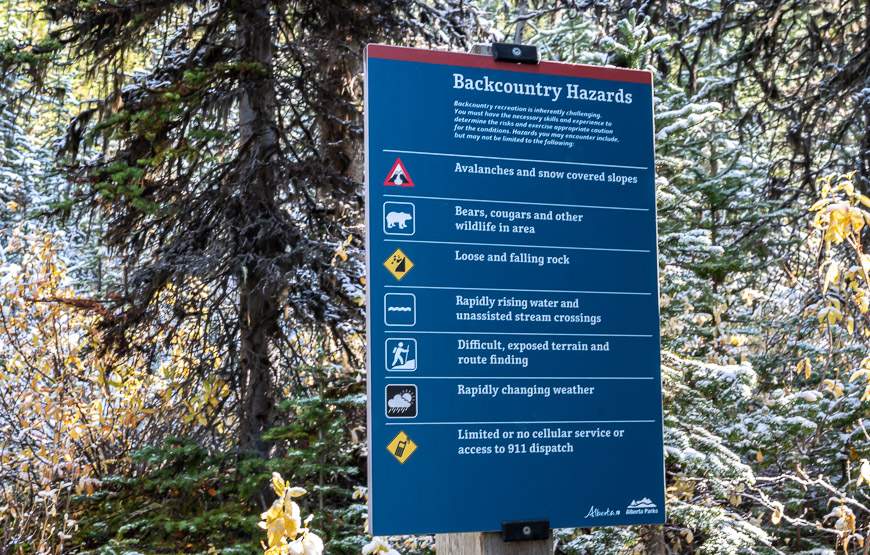
Other considerations: Always carry the 10 essentials for hiking and a can of bear spray.
Permit: You will need a Kananaskis Conservation Pass to do the hike. You can purchase a day or yearly pass, good for two vehicles registered at the same address.
Optional add-on: There is the option to continue up Fortress Mountain or do a loop and hike back to Chester Lake though that requires some route finding.
A quieter hike: It’s not a popular hike despite starting at the same trailhead as Chester Lake.
Fishing: Some people hike up to the Headwall Lakes to fish for cutthroat trout. Get a fishing license if you plan to do that.
Trail conditions: Check Alberta Parks trail reports before you go.
Don’t forget: Let someone know where you’re hiking and when you’re expected to be back. Please practice Leave no Trace principles – packing out what you pack in.
Route description for the Headwall Lakes hike
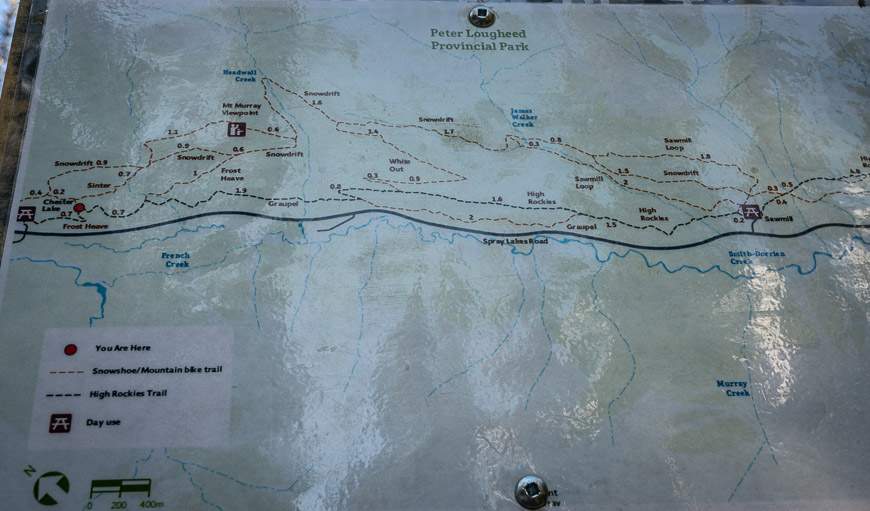
From the Chester Lake parking lot hop on one of the well-marked Sawmill snowshoe trails that double as hiking trails in the summer and fall.
Maps can be found at every intersection so you shouldn’t have any route-finding issues on the Headwall Lakes hike! We started off on Frost Heave and took it to Snowdrift. From there we enjoyed a flatter section paralleling Headwall Creek.
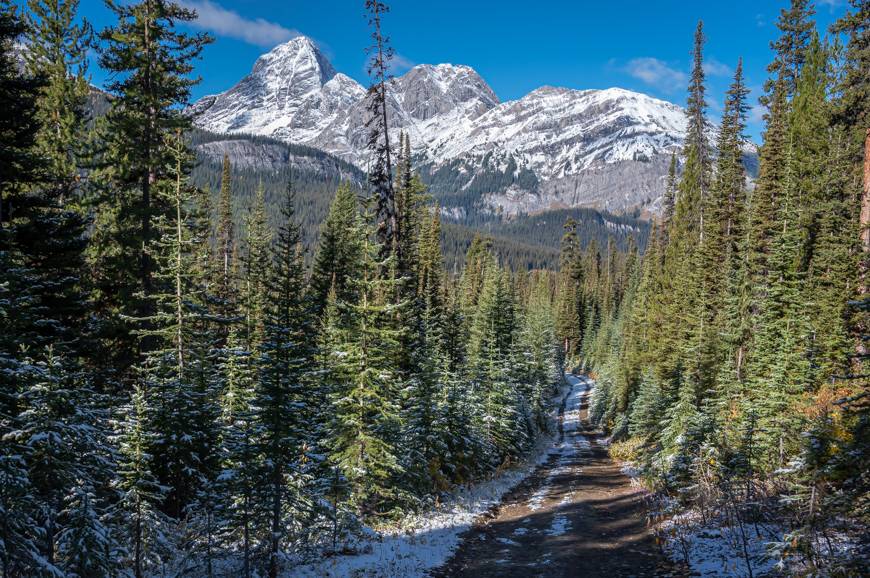
Then we crossed the bridge over Headwall Creek at 3.2 km, 45 minutes to an hour into the hike, and climbed up the road steeply for a short distance.
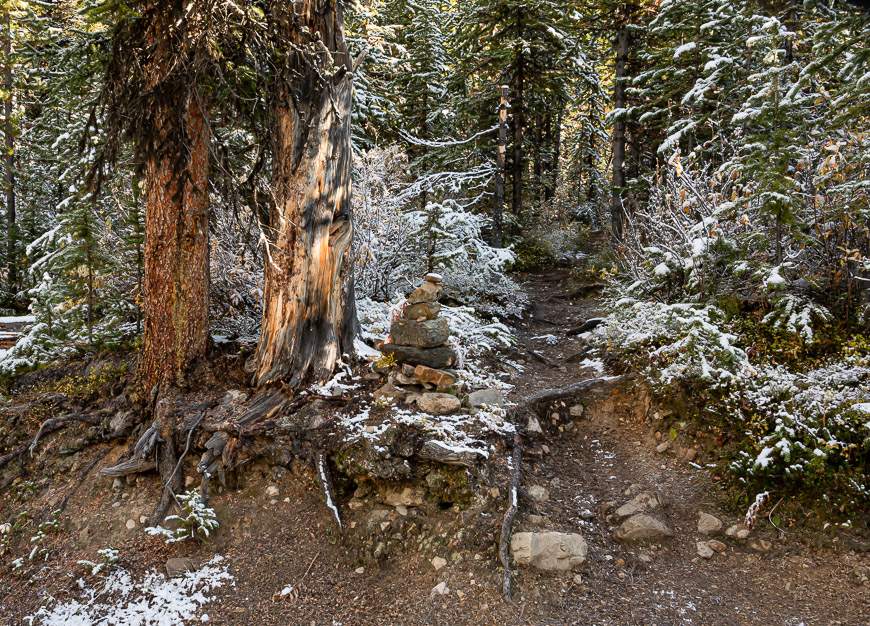
When the road started to level out, about a half a kilometre from the bridge, we looked for a cairn on the left-hand side of the road. See the picture below. There is also an arrow made of rocks on the road pointing to the trail, but it is surprisingly easy to miss.
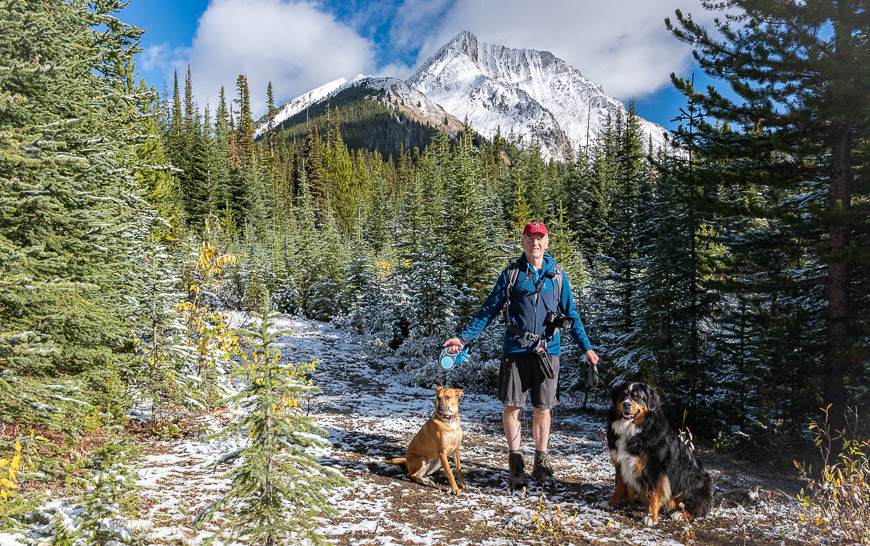
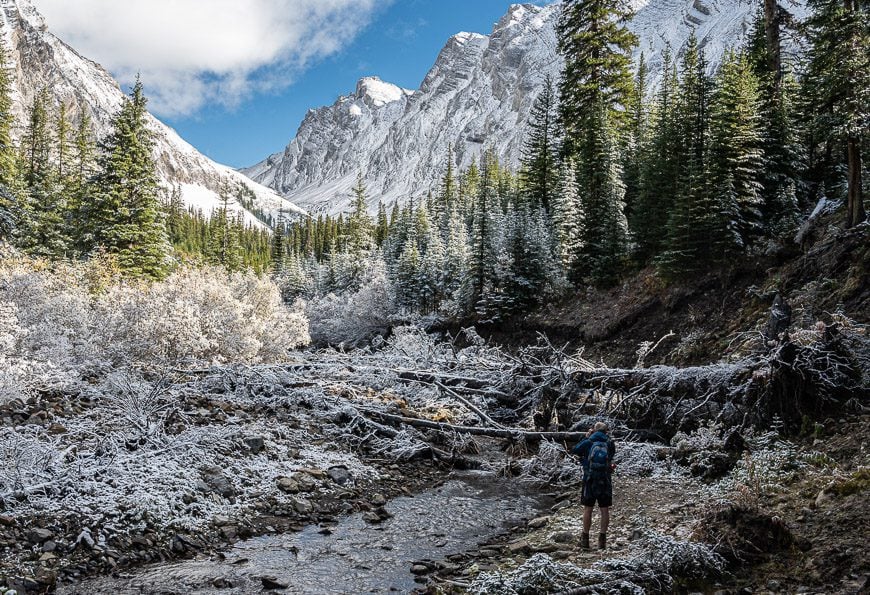
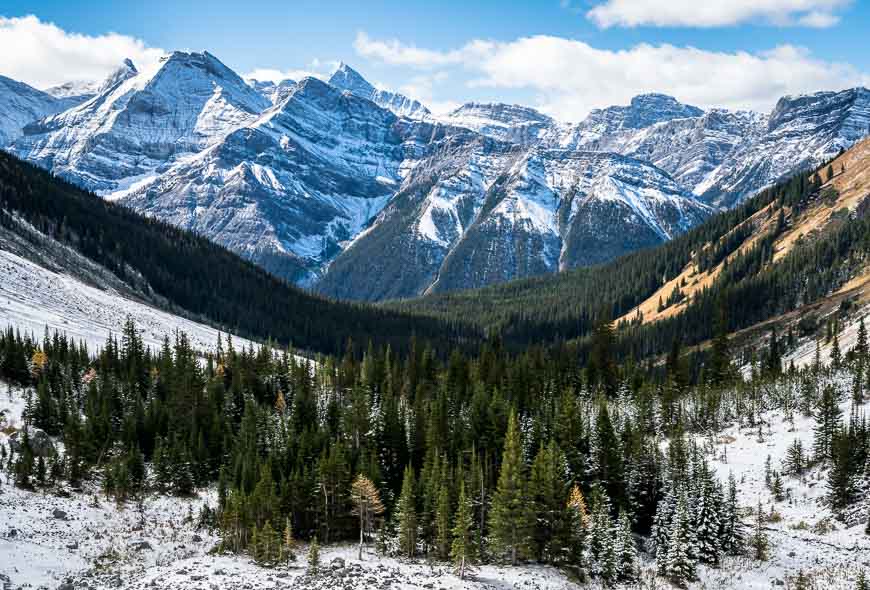
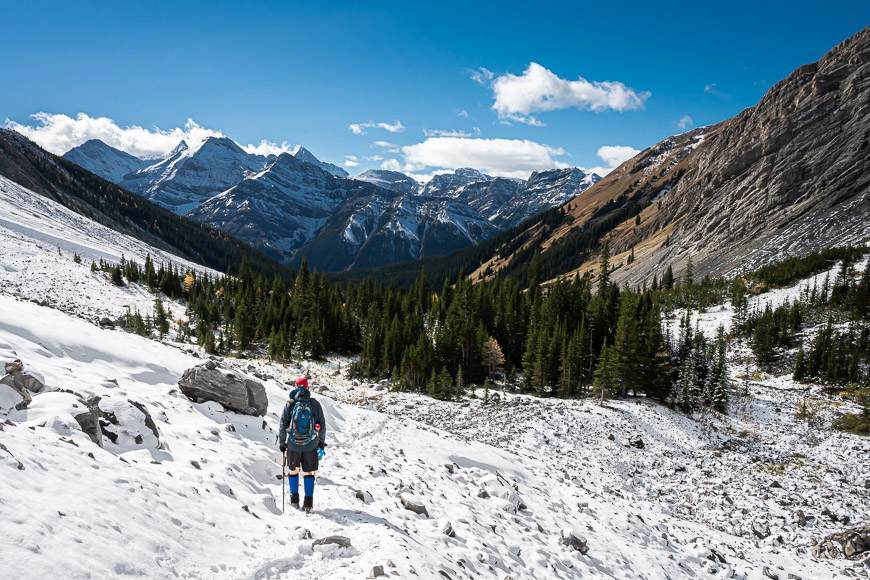
Enter the woods on a narrow trail that leads through dense trees. After about 15 minutes in this section you will reach Headwall Creek – marked by lots of uprooted trees. Ahead in the valley, you can see numerous mountain peaks.
Immediately left is 3054 m high Mt. Chester and to your right is Mt. James Walker at 3035 m.
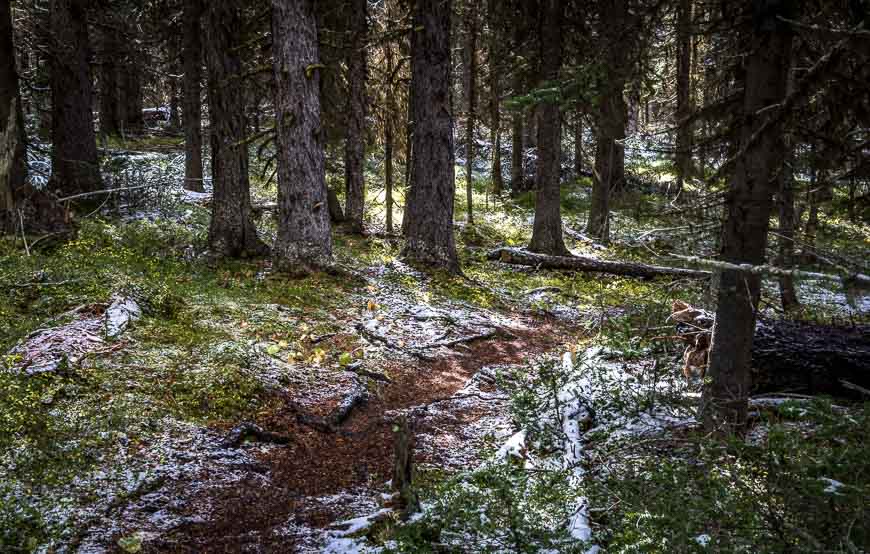
From Headwall Creek, hop on the trail that weaves through the forest, roughly paralleling the creek.
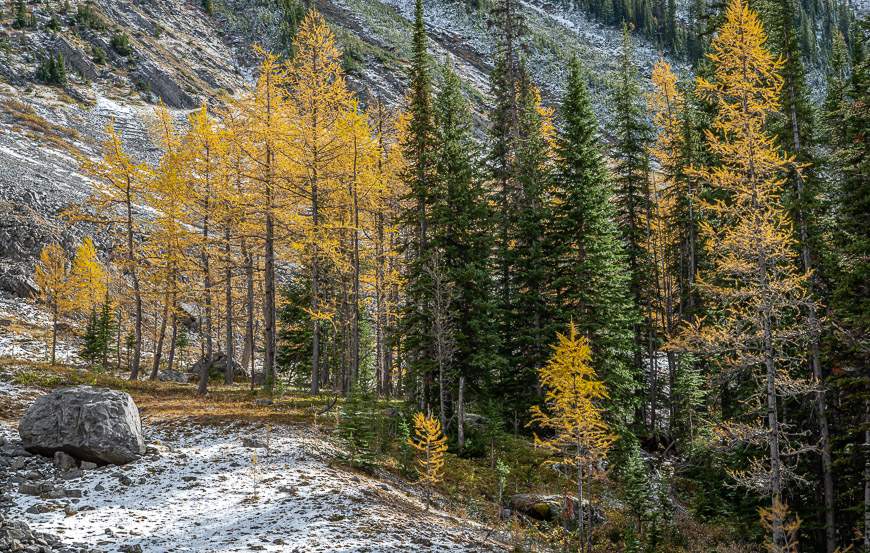
Emerge at the base of a rockslide. In the fall, this was the only place on the entire hike where we saw larches in all their glory.
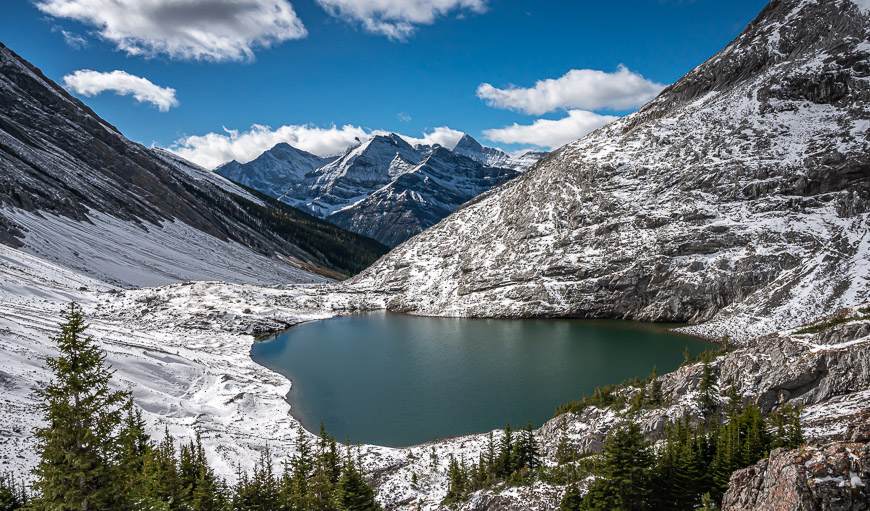
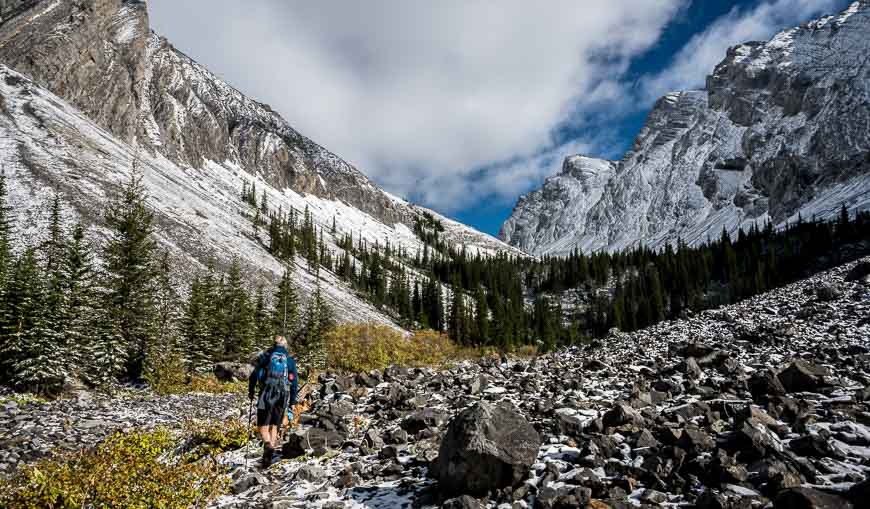
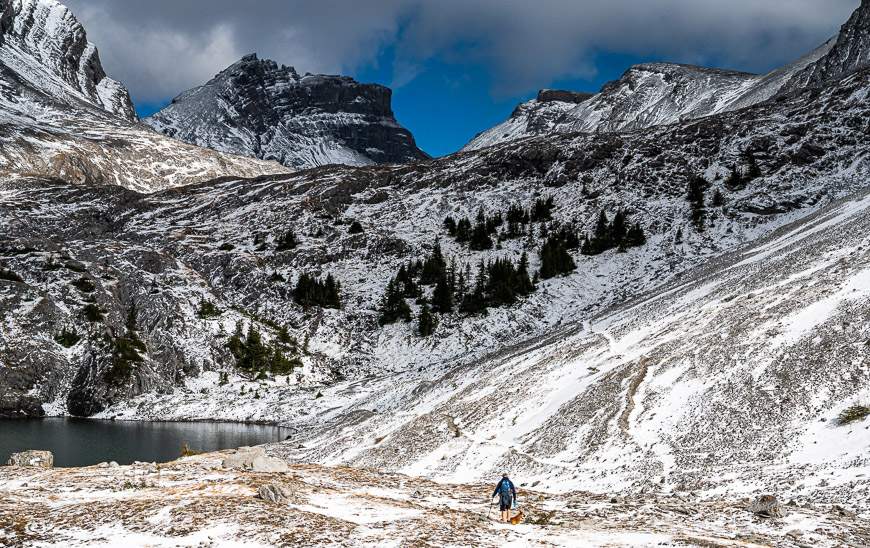
Follow the trail at the base of the rockslide heading for the notch in the distance. To reach lower Headwall Lake, roughly two hours from the trailhead, climb steeply through the trees and up over ledges to look down on the first lake.
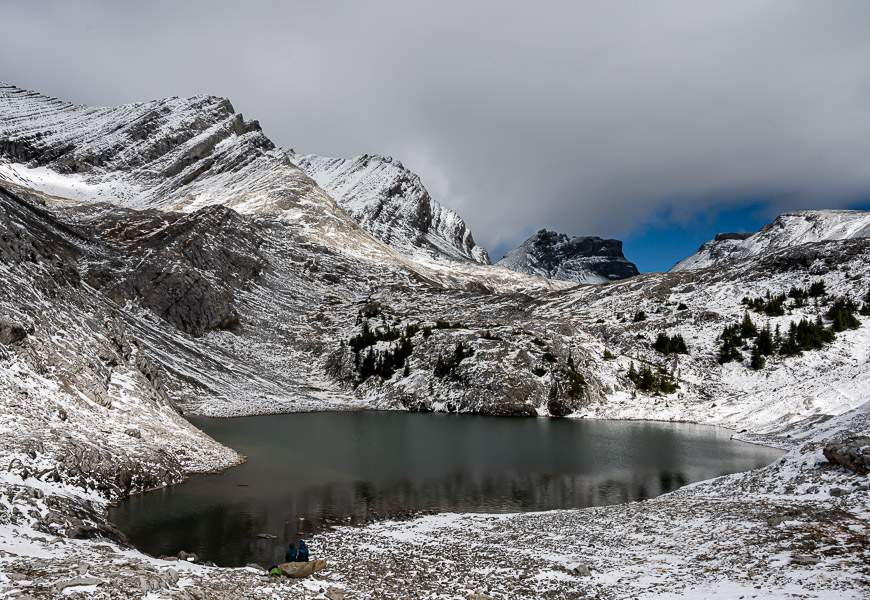
Don’t turn back here as it’s only a 15-minute hike to reach the upper Headwall Lake.
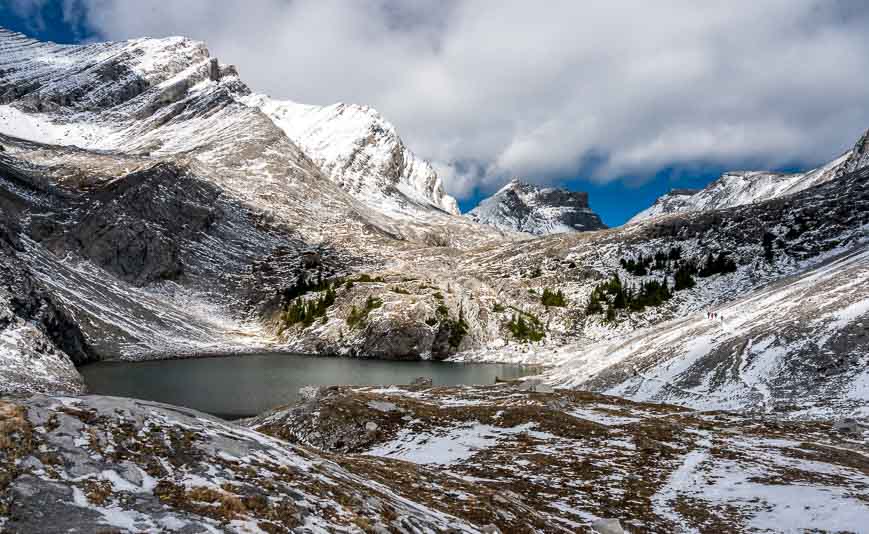
There is a various obvious rocky trail to follow that doesn’t require any special moves. On the day we hiked it, after the first snowfall of the season, our main aim was to get out of the wind to enjoy lunch. On a warm summer day, this lake would be a wonderful place to hang out for an hour.
There is the option to continue hiking around the east shore of the upper lake – cue the people in the distance in the photo below.
There’s lots of off-trail exploring to do off the Headwall Lakes hike around here if you’re not interested in climbing Fortress Mountain or scrambling up the col and then down to Chester Lake. A good topo map is essential if you are planning to hike further.
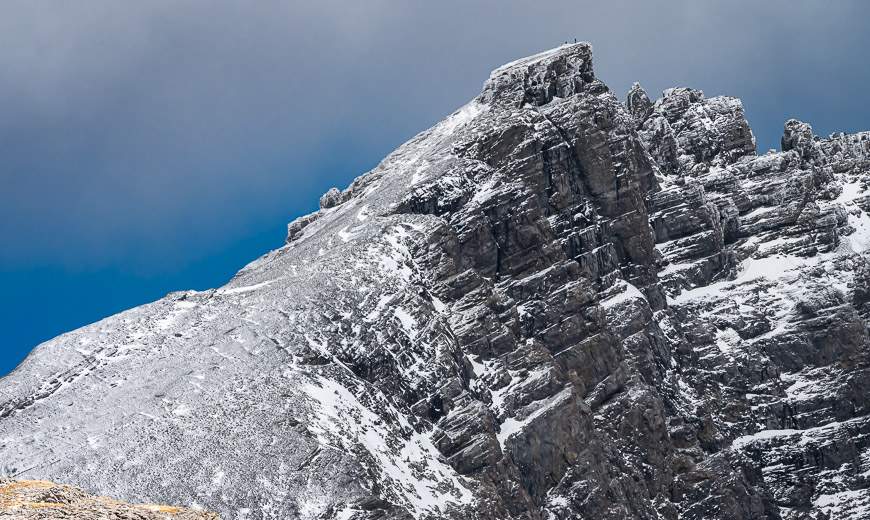
The option to continue up Fortress Mountain
We did not scramble up Fortress Mountain but as you can see there is an obvious path that switchbacks steeply up the mountain.
From upper Headwall Lake there is another 660 metres of elevation gain over 3.5 km. This is a demanding hike – and one I would choose to do on a perfect summer day – and not after a fresh snowfall.
Fortress Mountain can also be reached via a steep off-trail hike from Chester Lake.
Finding the Headwall Lakes hike trailhead
From the Canmore Nordic Centre drive 41.5 km on the mostly dusty Smith Dorrien/Spray Trail.
The large parking lot is on the east side of the road across from the Burstall Pass parking lot. It is signed for Chester Lake but this is also the starting point for Headwall Lakes.
If you are coming from Highway 40, continue south to the junction of the Kananaskis Lakes Trail, 50 km from the Trans-Canada Highway turnoff.
Turn right (southwest) onto the Kananaskis Lakes Trail. In 2.2 km turn right again onto the Smith Dorrien/Spray Trail. Continue for 22.2 km to reach the parking lot on the right. It is well-signed on the approach.
What to take on the Headwall Lakes hike
I like the inflatable seat cushion especially when lunch is on cold rocks and snow!
Hiking poles come in handy especially on steep sections or when stream crossings are involved. Buy quality and consider weight. The lighter, the better in my opinion.
I always take a buff as it’s so multi-functional. It’s particularly useful on a windy day.
I don’t pack gaiters on every trip, but at some point on most hikes I usually wish I had them – and once the snow starts falling, gaiters are invaluable.
If it’s a chilly fall hike a thermos with something hot to drink is a welcome addition.
For blisters
If you’re prone to blisters you might like one of these three products.
Leukotape – This came highly recommended to me by a fellow who hiked the Great Divide Trail in Alberta and BC. I met him near the end of the trail, and he still swore by the stuff.
KT Blister Tape – Several hikers I have chatted with recently have come to love this tape for blisters. I also recommend KT Tape – an athletic tape that I’ve used for foot support on long hikes.
Compeed – I discovered this Band Aid-like product when I was hiking the Cumbria Way in England and ended up with massive blisters after getting wet feet. I always pack it on multi-day hikes – and I find it speeds up the healing process too.
Interested in camping in Kananaskis?
If you want to avoid an early morning drive to the trailhead, consider camping at one of the nearby campgrounds.
Read: A Complete Guide to Camping in Kananaskis
Further reading on hikes in the area
- The Hike to Burstall Pass in Kananaskis Country
- The South End of Lawson Hike in Kananaskis Country
- 12 Kananaskis Trail Hikes in Alberta With a View
- Test Your Mettle on the EEOR Hike near Canmore
- The Hike to Black Prince Cirque
Click on the photo to bookmark to your Pinterest boards.