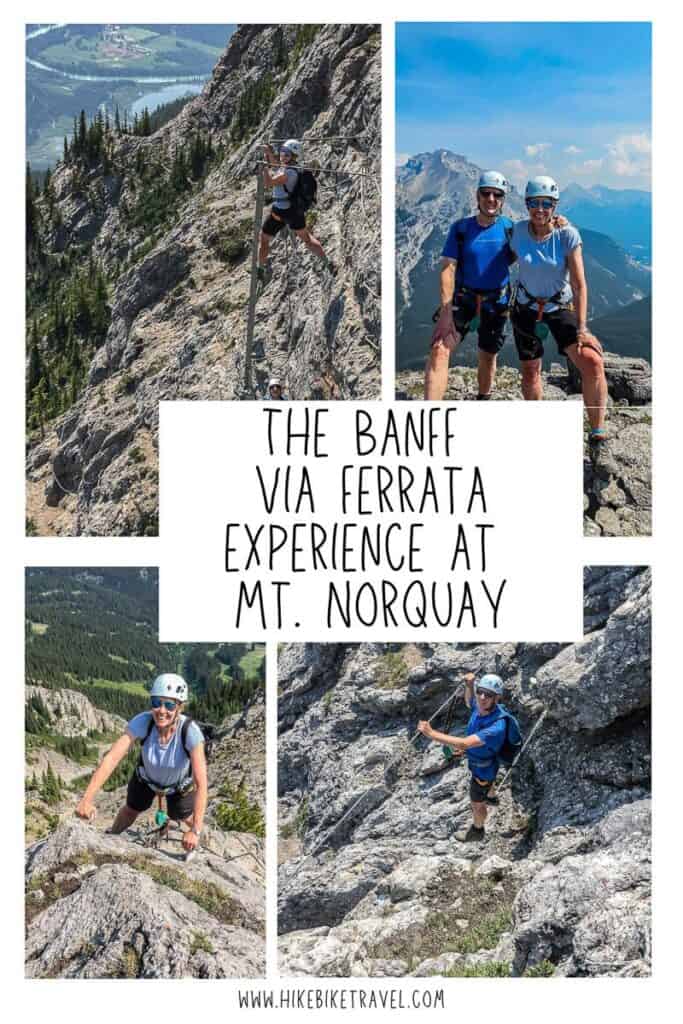
Only two people have ever turned back on the Via Ferrata at Mt. Norquay, my guide for the afternoon, John Thornton tells me. But then he goes on to explain that the people who come to hike and climb the Banff Via Ferrata basically self-select – and those that are deathly afraid of heights don’t even consider the outing.
The first route on the Banff Via Ferrata at Mt. Norquay opened in June 2014. Fast forward 10 years and there are now five options – Explorer, Ridgewalker, Alpinist, Skyline, and Summiteer.
In summer 2024, John and I tried the five-hour Via Ferrata Skyline route which I’ll describe in more detail below.
This post includes some affiliate links. If you make a qualifying purchase through one of these links, I will receive a small percentage of the sale at no extra cost to you. Thank you very much for your support.
What is a Via Ferrata?
Via Ferrata means iron way in Italian – which makes sense as it originated in Italy. Via ferratas were built to get soldiers and equipment to strategic places in the mountains in WWI. In the European Alps today there are over 1,000 via ferratas of varying lengths.
On the Banff via ferrata you can look forward to a mix of hiking and scrambling with some fun obstacles like suspension bridges, an airy walk on steel cables, and a ladder that looks like its freestanding from a distance. There are cliffs to climb and more airy moves to make, but you’re always clipped in, so in theory there is nothing to fear.

Is the Banff Via Ferrata for you?
Most people I know say there’s no chance they’ll ever try the Banff via ferrata. The fear of falling is hardwired into us – but it’s mitigated with the use of cables, carabiners, and a climbing harness. You just have to learn to trust that it will all work out. Because it does.
For those of you who just want to get your feet wet, choose the Explorer. It’s a great introduction to what a via ferrata is like. Once you get into the groove, you’ll be very proud of what you accomplish.
For anyone else, pick a longer route. You will never be rushed – and the intense pitches are broken up with breaks. There is some hiking at the beginning and end, as well as in between some of the sections.
The Banff Via Ferrata – before you get to the fun part
To start, you sign the requisite legal forms acknowledging the risk on the Banff via ferrata adventure you’re about to undertake. There are severe drop-offs, but strong safety measures are in place to mitigate the risk of falling.
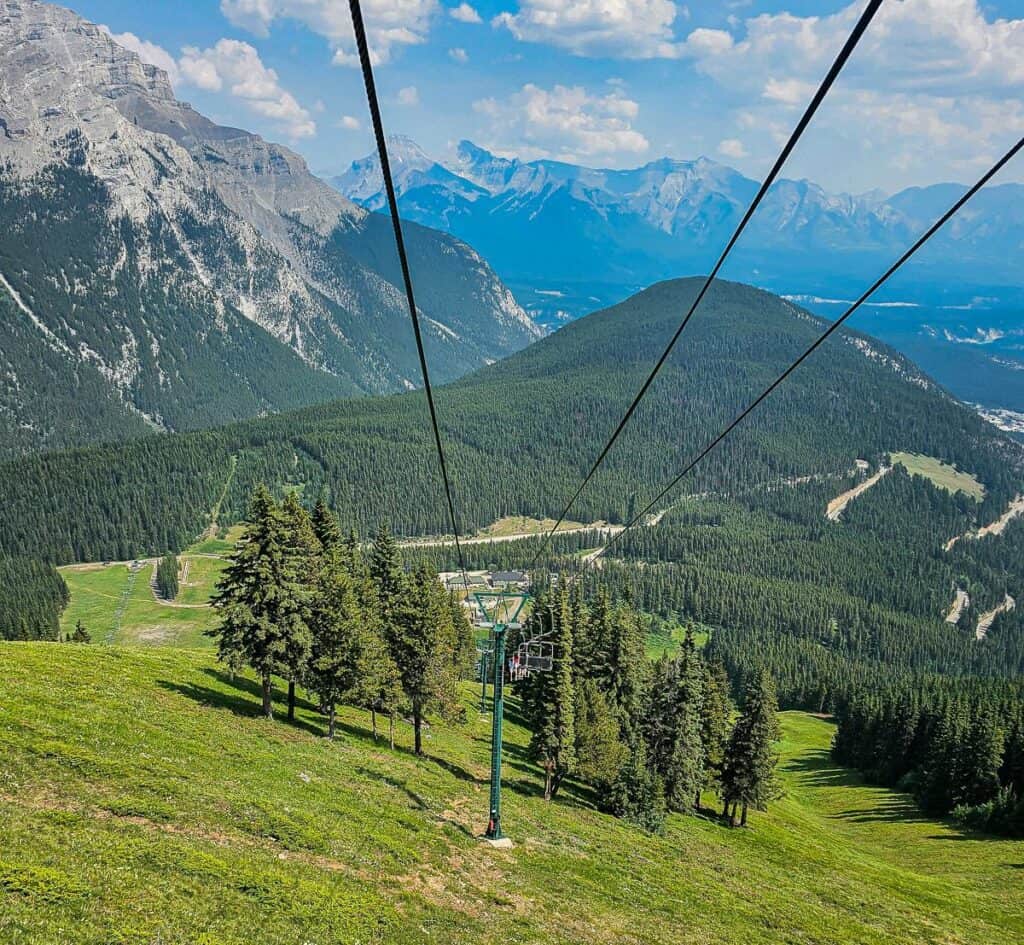
After donning helmets, a safety harness, via ferrata leashes (each with two carabiners), and picking out a pair of gloves our group of eight heads for the chairlift.
The first time I do the Banff Via Ferrata at Mt. Norquay, I sit beside John Thornton on the ride up and learn just what has gone into making this dream a reality. It took 10 years of jumping through regulatory hoops to get the final approval. He has been very involved, and in fact was a key player in the route design. In addition, he oversaw the actual installation way back in 2013.
Practice before the real Banff Via Ferrata
After our scenic ride to the top of the ski hill, we gather together by a rock face laced with steel cables, bolts, handholds and toe holds. Our guide on the Skyline route – Amanda – demonstrates how to use the two carabiners on this practice face and everyone tries it before we head out on the real deal.
We are warned against ever being fully un-clipped from the steel cables. Every time you reach a break in the cable – where there’s basically a steel knot, you must move one carabiner to the next steel cable and once it’s attached, you move the second carabiner.
Should you fall, and no one has yet, you won’t fall far.
The fun and thrills begin on the Skyline route
From the top of the chairlift it’s a short walk over to the start of the climbing route. It doesn’t take long to get the hang of clipping in and out over anchors time and time again.
You’re never rushed on the Banff via ferrata. I found that our guide Amanda was always patient and encouraging – especially at the scarier sections with exposure.

Our first hour on the Skyline route was taken up with an introduction, donning of gear, chairlift ride, and practice climb. Then it was a short hike to get to the starting point – but there was enough of a grade that you might be breathing hard.
The first part of the Skyline route is easy – and I say that because this is my third via ferrata. (I have also done the one at the CMH Bugaboos Lodge which helped build my confidence.)
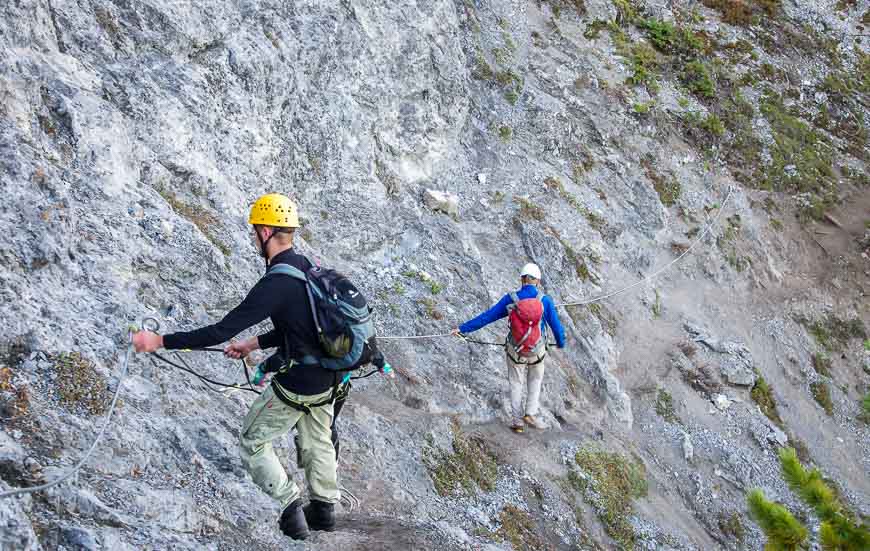
At the beginning we spent quite a bit of time crossing a not-too-steep cliff face, where there were times we didn’t have to be clipped in.
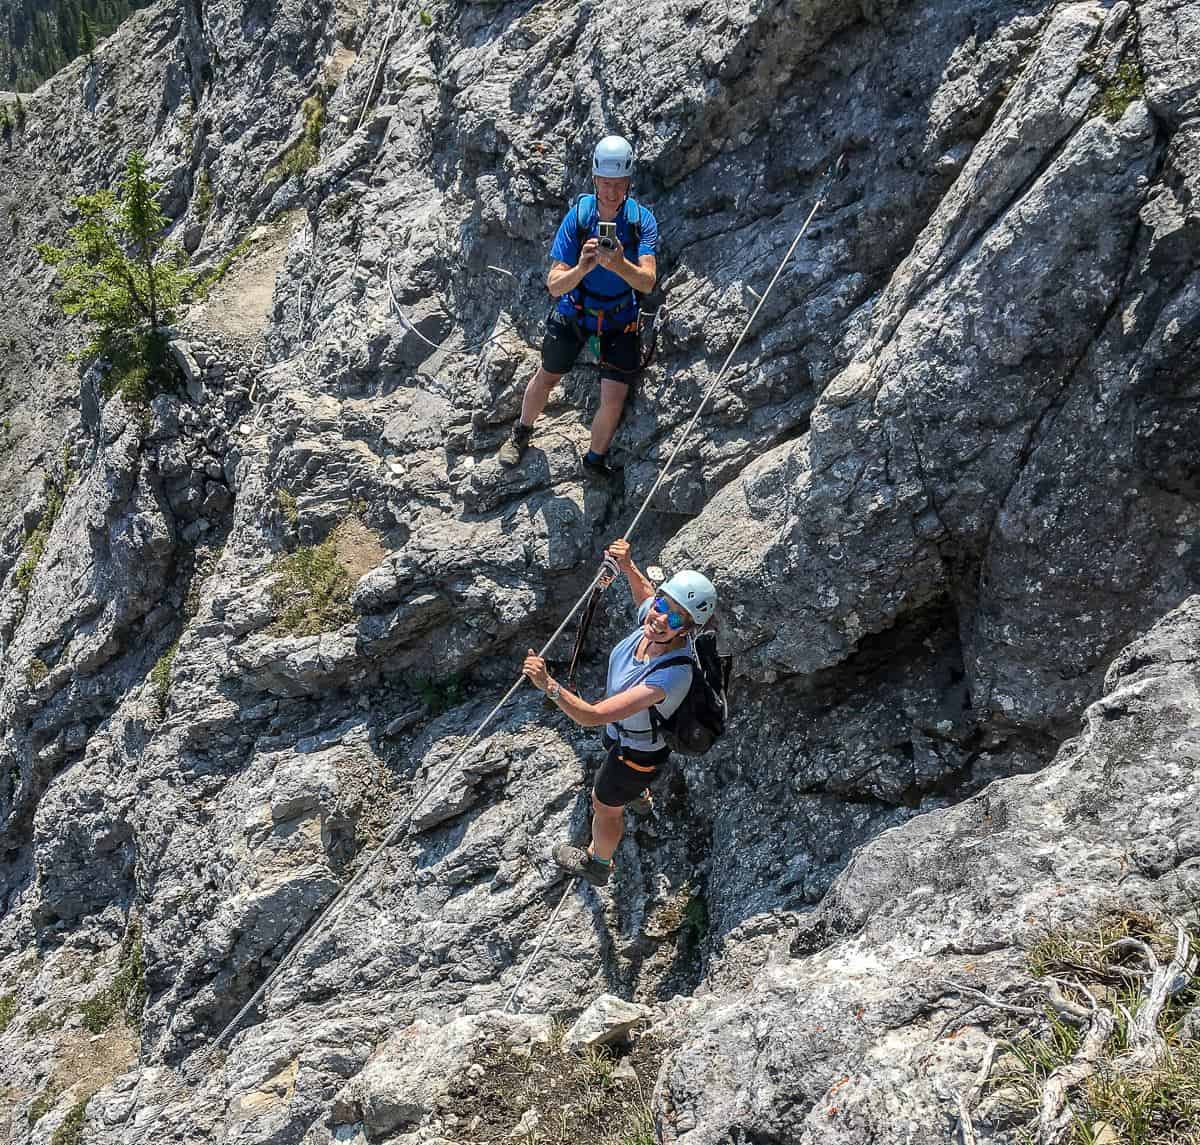
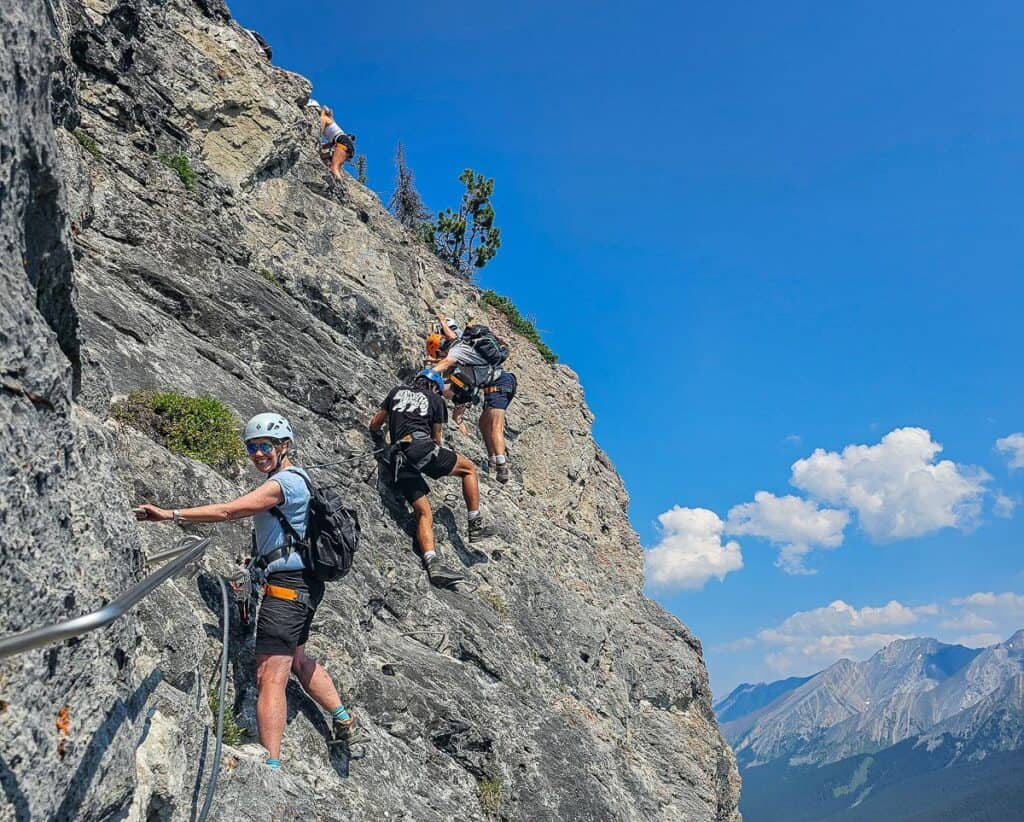
And then things got serious. Suddenly we were going straight up and eventually over an exposed outcrop with a yawning drop. But, except for one occasion over the five hours, I found there were always hand or footholds right where you needed them.
After the steep section we were able to unclip, sip water, eat snacks and enjoy the view. We were told the next part would involve three obstacles – and we’d know them the minute we saw them. And that was certainly true.
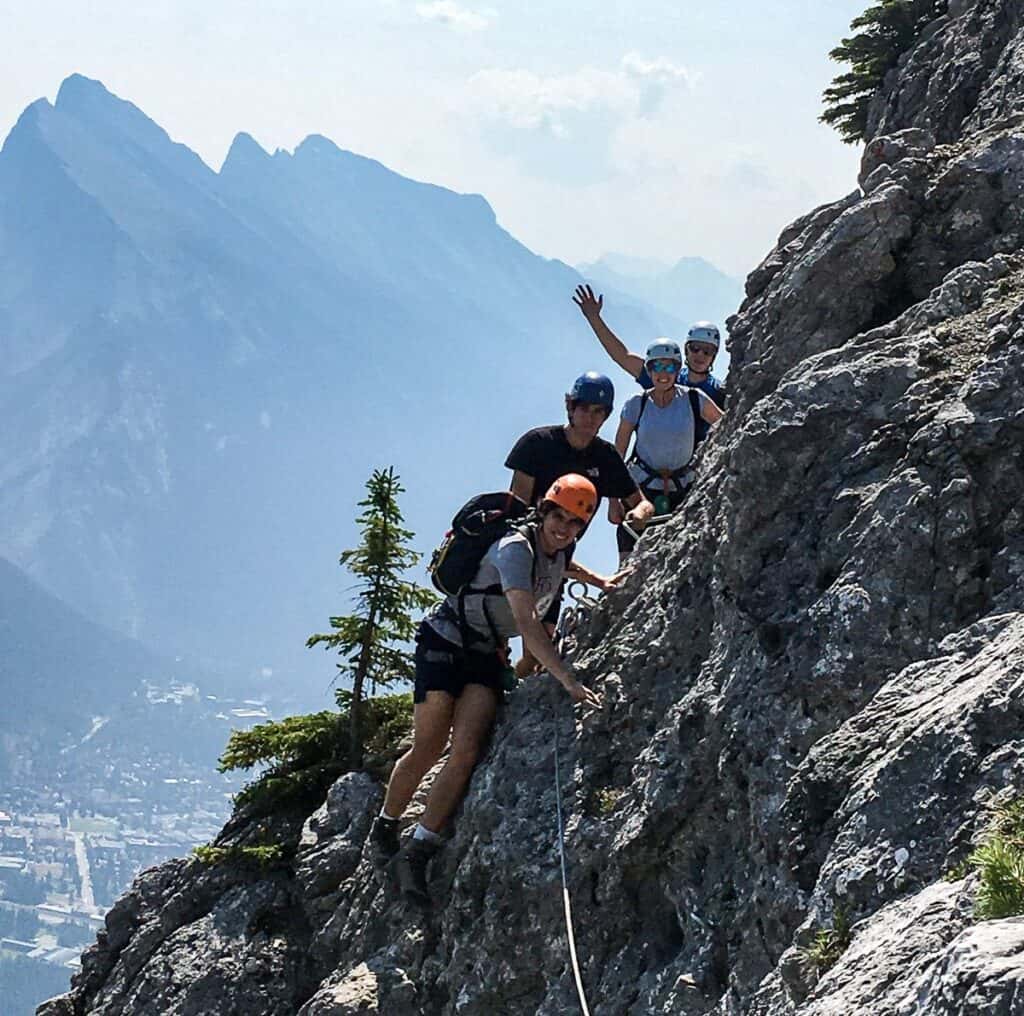
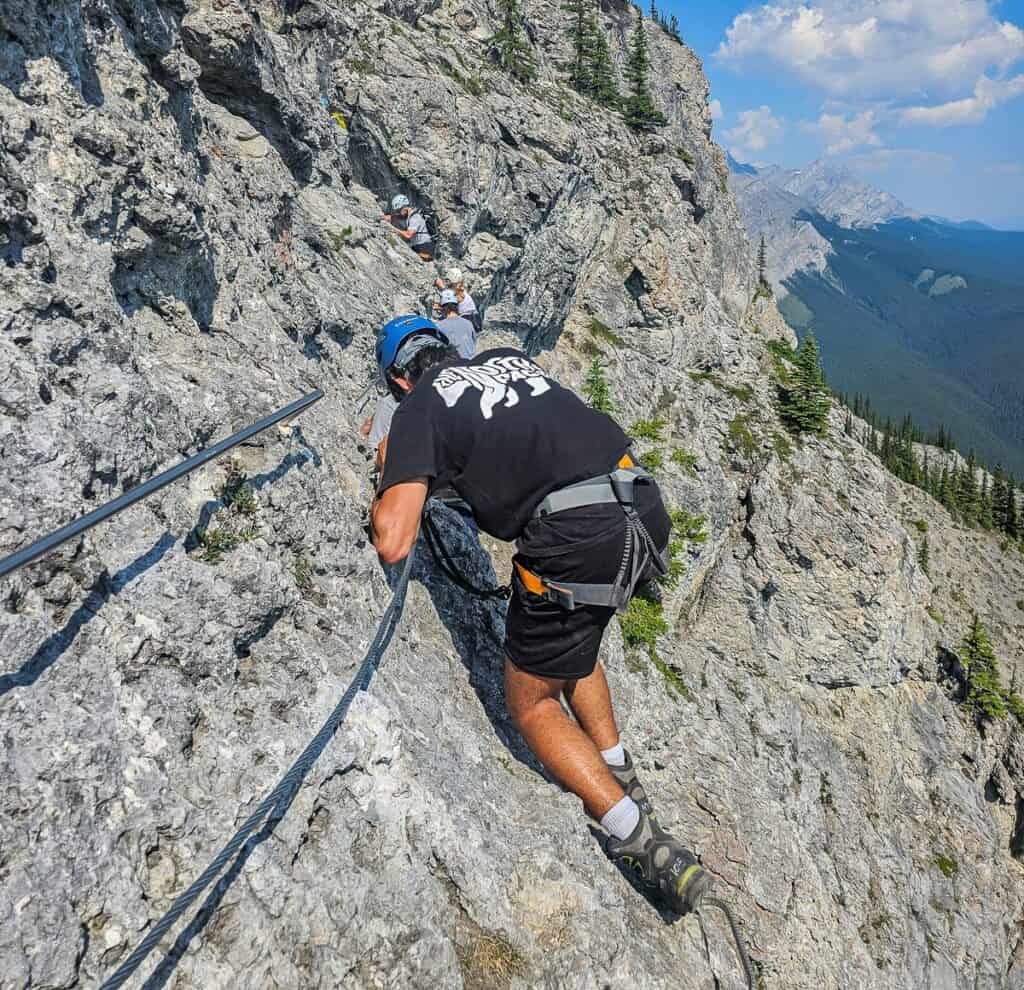
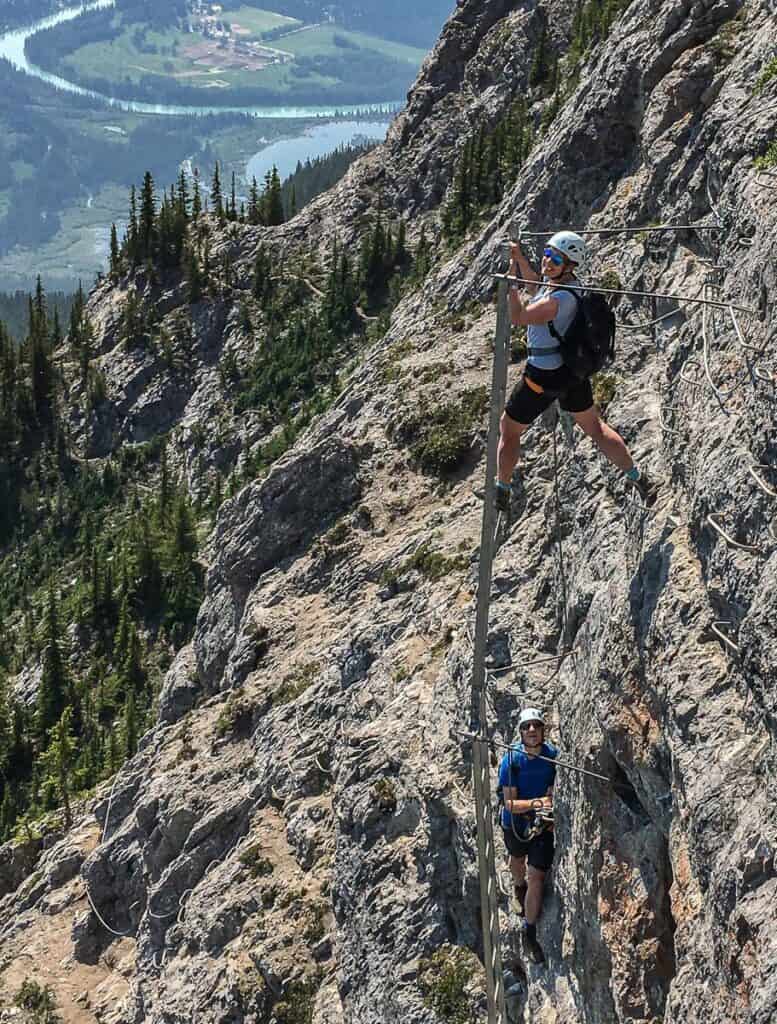
The next hour got everyone’s attention. We had a ladder to climb that looked like it was magically resting in thin air from a distance, a long suspension bridge to cross, a cable to cross with hands on top and feet on the bottom, and a short log with nothing to hold onto. I would call it 3.5 obstacles as the log was something of a mind game.
Sometimes the “obstacle” wasn’t really that difficult – but waiting for everyone to catch up while clipped in to a vertical cliff could be nerve-wracking at times. I think photos speak louder than words so check out the following to see what the obstacles look like. The log is missing.


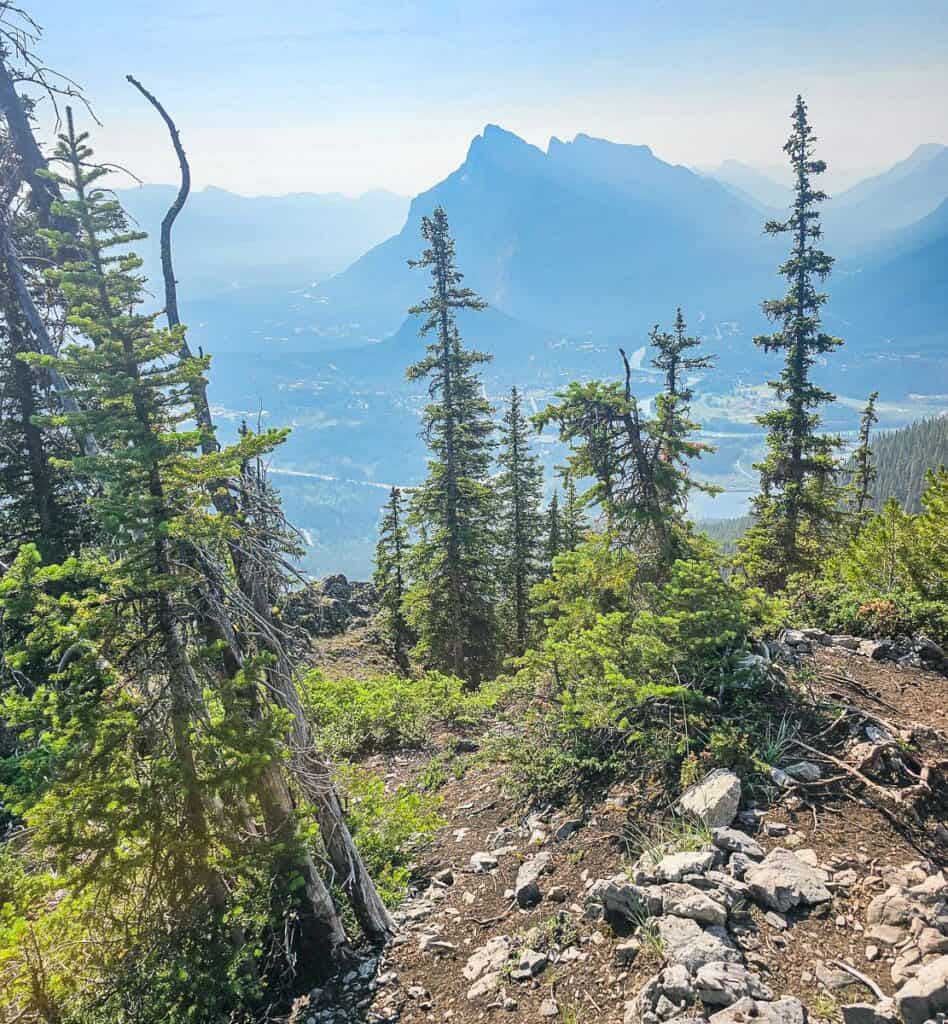
The Banff via ferrata runs rain or shine. I’m thankful we ended up with a sunny day even if it was a bit smoky.
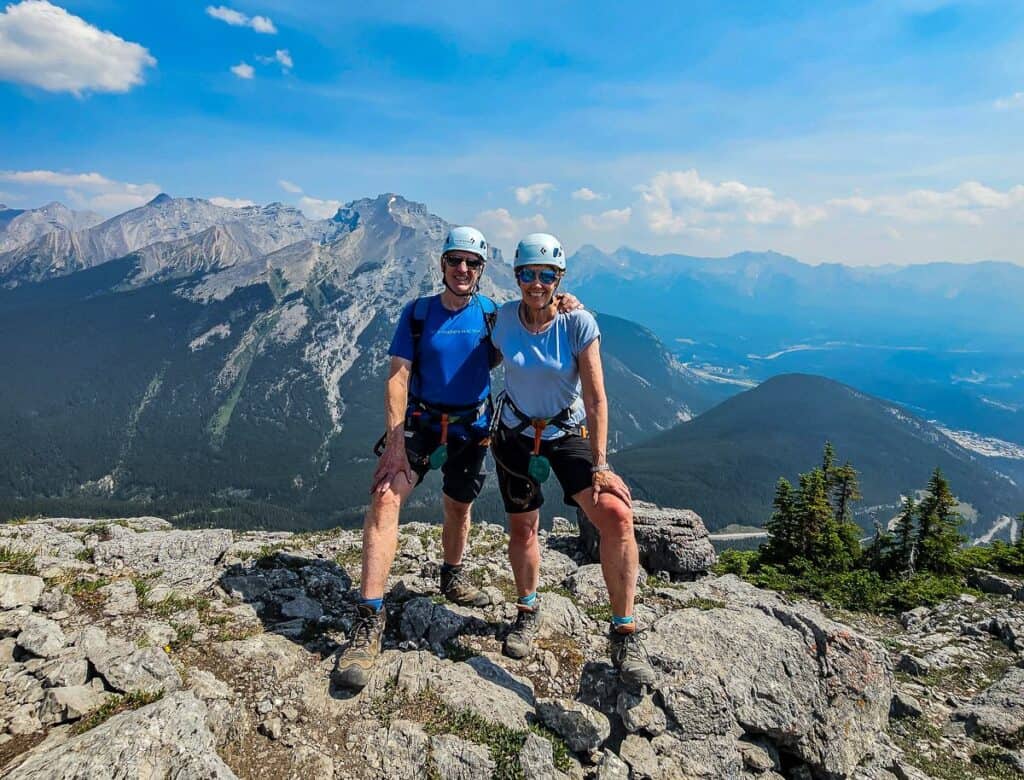
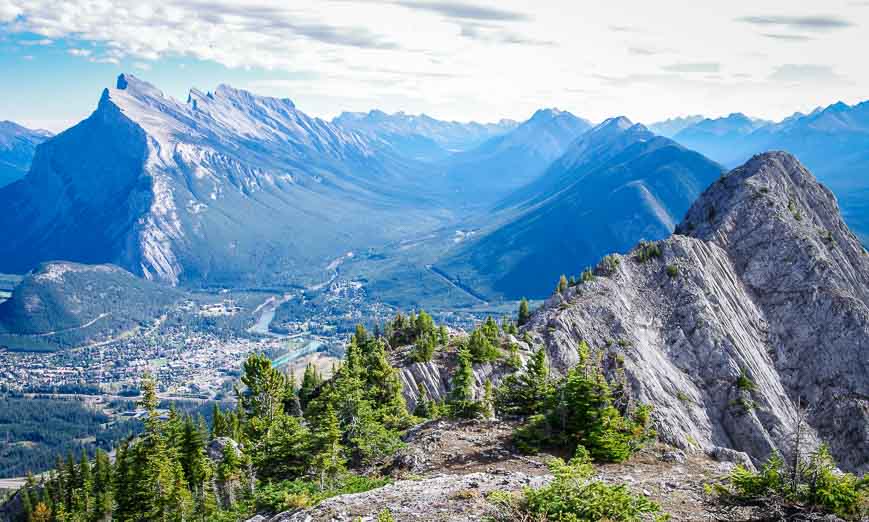
We took a break after completing all the obstacles and then spent another 15 minutes climbing to the high point of the Skyline route. After enjoying some seriously good views – including Cascade Mountain, we started the descent.

The down climb
The down climb on the Banff via ferrata is on a trail with some sections of steel cable that we can clip into to make the descent easier. It’s actually tricky walking and I for one take my time.
On the Skyline option it took us about an hour to descend from the high point of the day. You end up conveniently beside the Cliffhouse Bistro.
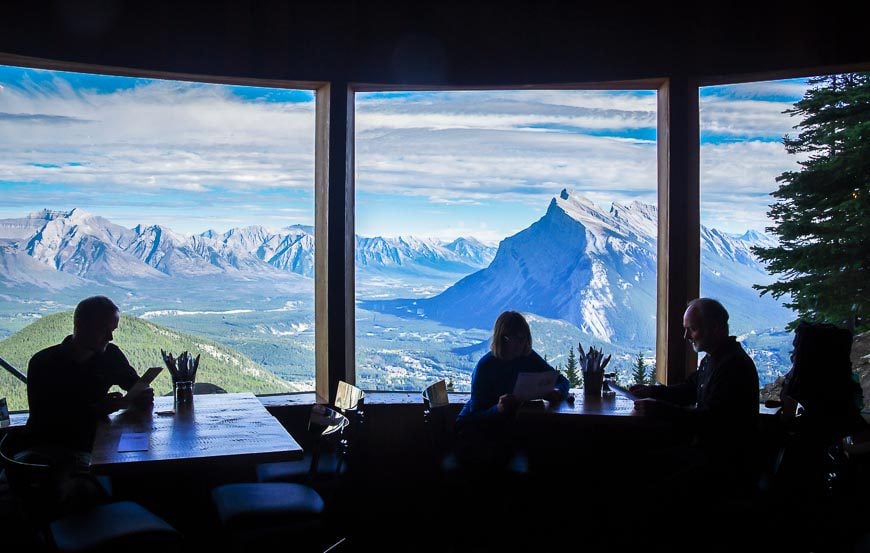
The Cliffhouse Bistro for one of the best views in Banff
Leave time at the end of the Banff via ferrata for a drink with a view at the Cliffhouse Bistro, elevation 3,130 m (7,000 feet). The bistro has offered the best views of Banff since the day it opened in the 1950’s.
At one point it was a tea room, but now it’s got a great lunch menu. Even if you don’t do the Banff via ferrata experience, I highly recommend visiting so you can linger over your meal whilst enjoying the view.
What you need for the Banff Via Ferrata
To climb the Banff via ferrata at Mt. Norquay, you need only bring a pair of rugged hiking boots, water, snacks, warm clothes, and rain gear. You must also be at least 12 years old and weigh between 35 and 140 kg.
They do rent knapsacks and hiking boots – even in half sizes. You can also purchase water and snacks if you’ve forgotten to pack it.

What are the options for the Via Ferrata at Mt. Norquay?
In 2024 there are five Banff Via Ferrata tours at Mt. Norquay. Prices start at $190 per person. Make a reservation.
- Explorer Route – 2 – 2.5 hours and covers 1 km including the suspension bridge.
- Ridgewalker Route – 3.5 – 4 hours, covering 1.4 km. Includes three cliff climbs and the suspension bridge.
- Alpinist Route – 4 – 4.5 hours covering 1.9 km. Includes everything on the Ridgewalker plus the epic Mt. Norquay Panoramadome.
- Skyline Route – 4.5 – 5 hours covering 2.5 km. Includes a traverse across a sheer rock wall and a 55-m-long suspension bridge. There’s also a ladder that looks like its in thin air you must climb.
- Summiteer Route 5.5 – 6 hours covering 3.2 km. It’s a continuation of the Skyline Route with more climbing at the top. Also includes lunch at the Cliffhouse Bistro.
This combination of hiking and climbing has whetted my appetite for more. In particular, I’d love to visit the Dolomites in Italy, the birthplace of via ferrata climbing. The Skyline route we did is graded a 3 on a 1-5 scale, with 5 being the hardest.

Finding the parking for the Via Ferrata in Banff
It’s about a 15-minute drive from downtown Banff to reach the parking lot for the Banff Via Ferrata via the road up to Mt. Norquay.
Do not park in the large parking lot used for skiing, but instead continue up to the next parking lot. You can either park there and walk a short distance to the building that houses the via ferrata – or if you’re early enough, you can park up at the top by the building.
Where to stay in and near Banff
Some of my favourite hotels in Banff include theMoose Hotel & Suiteswith its great location andBuffalo Mountain Lodgewith its excellent restaurant and wood-burning fireplaces plus a huge outdoor hot tub.
On the Bow Valley Parkway check outBaker Creek by BasecampandJohnson Canyon Lodge and Bungalows.
A giant thank you to Mt. Norquay for hosting John and myself. All opinions are mine alone.
Further reading on things to do in Banff
- The Ink Pots Hike via Johnston Canyon
- The Hike to Rockbound Lake, Banff National Park
- Cory Pass Hike, Banff National Park
- The Lake Minnewanka Hike Near Banff, Alberta
- 10 Breathtaking Lake Louise Hikes, Banff National Park
Click on the photo to bookmark to your Pinterest boards.