Fairview Mountain Hike near Lake Louise
The Fairview Mountain hike wasn’t our first choice one fall weekend. We’d actually planned to hike to Kindersley Pass in Kootenay National Park.
I’d heard great things about the trail and as a bonus it can be done as a loop hike. But as we drove south towards Radium Hot Springs the weather looked bad with lots of heavy, rain filled clouds hanging over the mountains. We aborted 15 minutes south of Castle Junction.
We finally settled on the hike to the summit of Fairview Mountain. It looks over Lake Louise and delivers grand in-your-face mountain views. But before we got to that decision we went through numerous other options.
We had always wanted to hike to Cory Pass but nixed it because we had a dog with us and a few airy sections might have been challenging. The C-Level Cirque hike near Lake Minnewanka was easy to access but it was more appealing to me as a shoulder season hike.
With a decision needed at the junction with the Trans-Canada Highway we opted to hike out of the Lake Louise area. Our first choice was Lake Annette in the Paradise Valley but by law you need to hike as a group of four because of the bears – so it too was out of the question. (The fine can be as high as $5,000 if you aren’t a group of four.) So Fairview it was – and what a great choice it turned out to be.
This post includes some affiliate links. If you make a qualifying purchase through one of these links, I will receive a small percentage of the sale at no extra cost to you. Thank you very much for your support.
Would you like to save this?
Fairview Mountain hike details
Distance: 7.4 km (4.6 miles) round trip to the Saddleback; 10.6 km (6.6 miles) round trip to Fairview Mountain.
Elevation gain: 600 metres (1,969 feet) to the Saddleback; add another 414 metres (1,358 feet) to the summit.
Time needed: 4 – 5 hours round trip, more if you want to sit back and take in the views from the top.
Trailhead location: Lake Louise near the canoe rental building
Permit needed: You need a permit to enter Banff National Park. You can purchase a permit for a day but if you’re planning to visit any one of Canada’s national parks for more than 6 days in a calendar year, then the Discovery Pass is the way to go.
Difficulty: Moderate to hard depending on how much you hike.
Dogs allowed: Yes, on a leash.
Map: Gem Trek Lake Louise & Yoho
Lake Louise parking: Your best bet is to reserve a shuttle with Parks Canada that starts at the Lake Louise ski resort. If you are able to nab a parking spot at Lake Louise, you will pay for the privilege of parking close by. Plan to be at the parking lot very early or very late in the afternoon. For detailed information on planning a car free experience to Lake Louise, check out How to Get to Lake Louise and Moraine Lake.
Saddleback – Fairview Mountain hike description
It’s only a 10.6 km return hike up – but its steep most of the way with 1,014 m (3,326 feet) of elevation gain. You’ll find the well-signed trailhead near the canoe rental facility on Lake Louise.
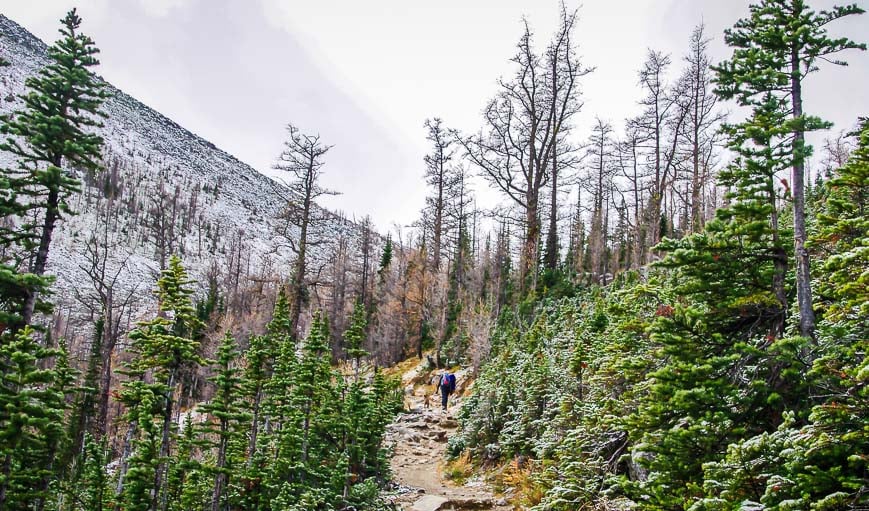
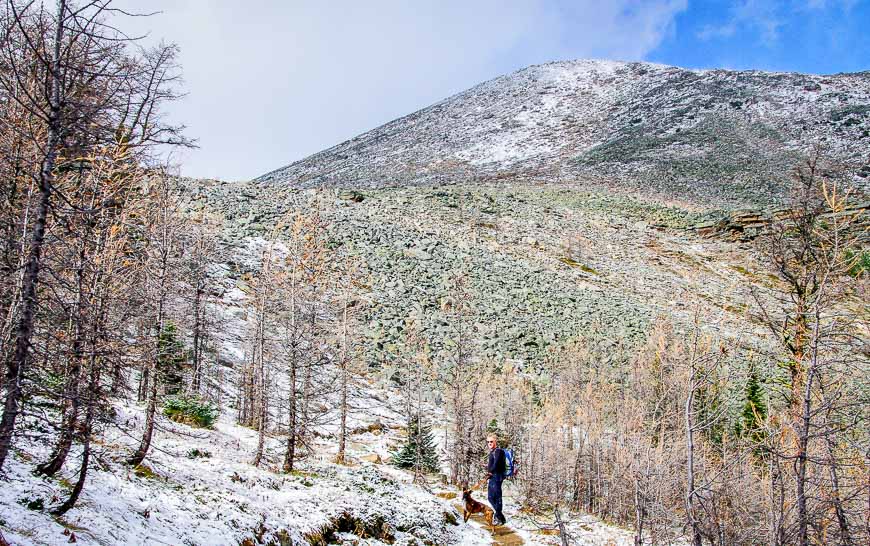
The first hour of hiking isn’t that interesting. Most of it takes you through the trees with the occasional view of the Bow Valley and the Lake Louise Ski Resort to keep you motivated.
There is a popular detour to a lookout just 300 m up the trail – but then it’s a kilometre in from there. Don’t bother with it as the views you’ll be getting are far superior.
The Saddleback on Fairview Mountain
By the time you reach the Saddleback you will have gained 600 metres.
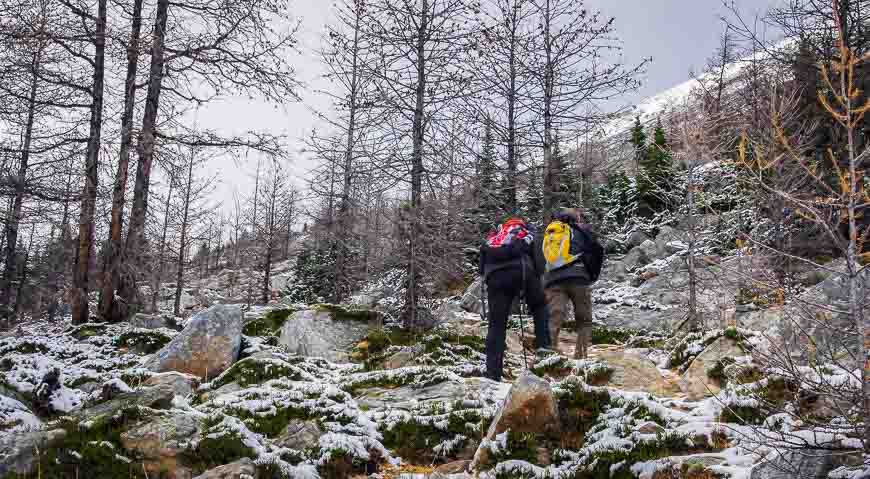
For many people this is a good turn-around point, especially in late September when the larches put on their spectacular show. We missed their glory days by a week or two.
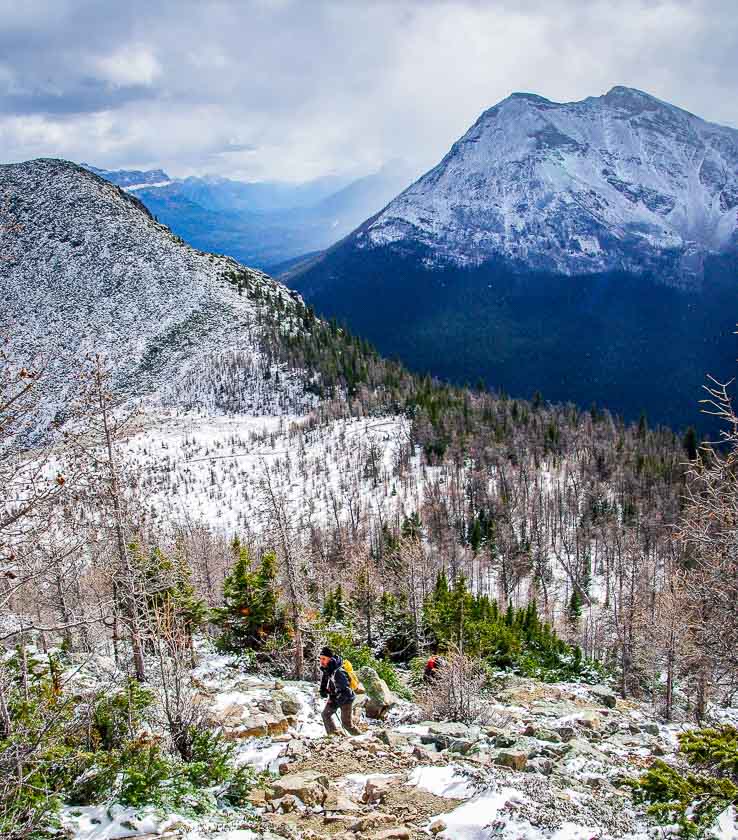
The next part of the hike up Fairview Mountain gets really interesting and steepens yet again.
It’s only 1.6 km (1 mi) to the summit from the Saddleback but you must climb 414 m (1,358 feet). When the snow arrives at higher elevations, I’d recommend bringing ‘icers’ or a light-weight pair of crampons to ease the descent.
Expect lots of elevation gain from the Saddleback
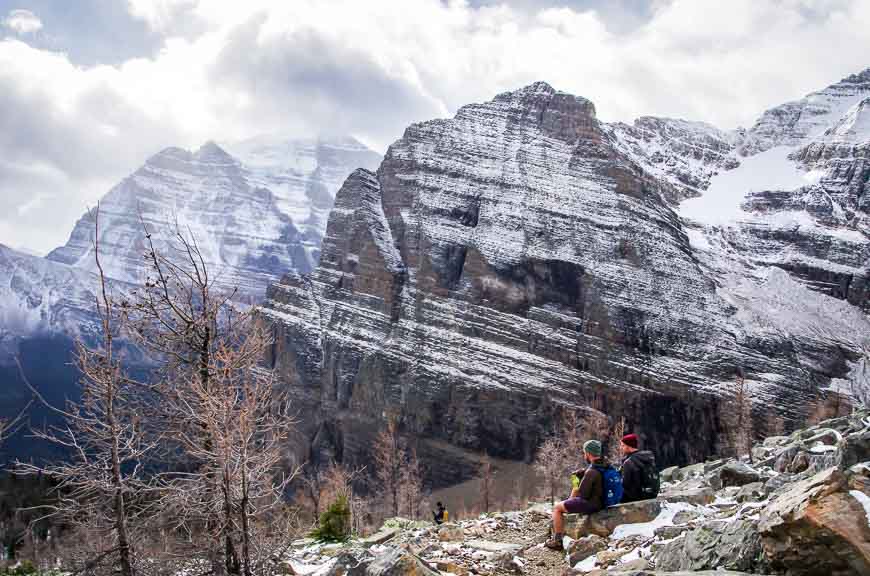
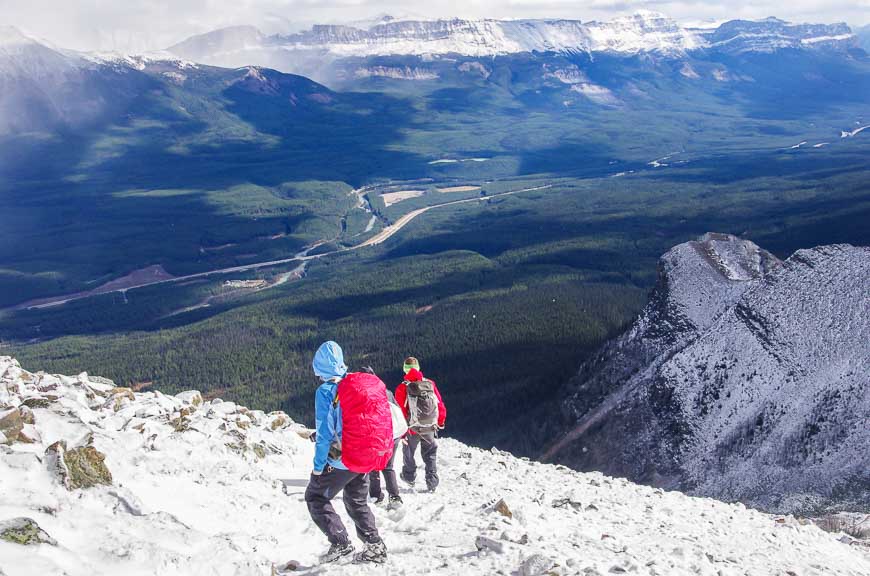
Within minutes of starting up from the Saddleback, the mountains fill the frame. It’s an incredible sight for the next few hours. Along the way we leap-frogged with a couple of groups – one from Lebanon and one from Australia so it was fun to see the scene unfold from a visitor’s perspective.
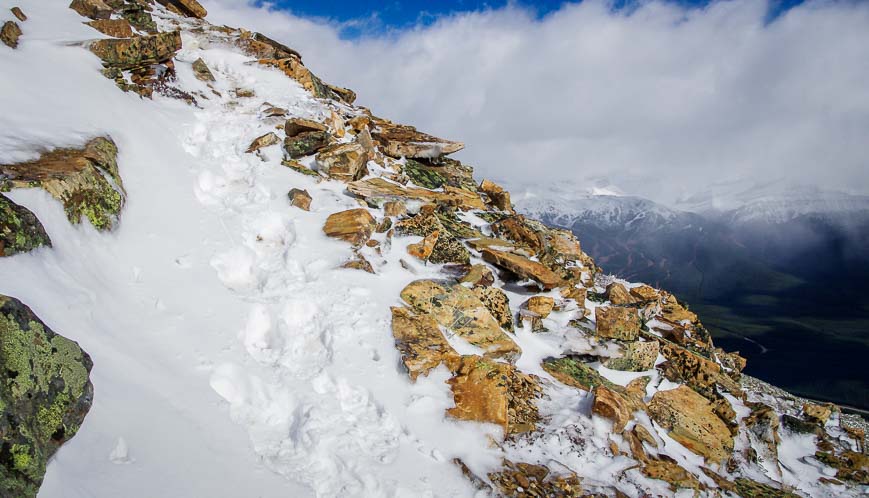
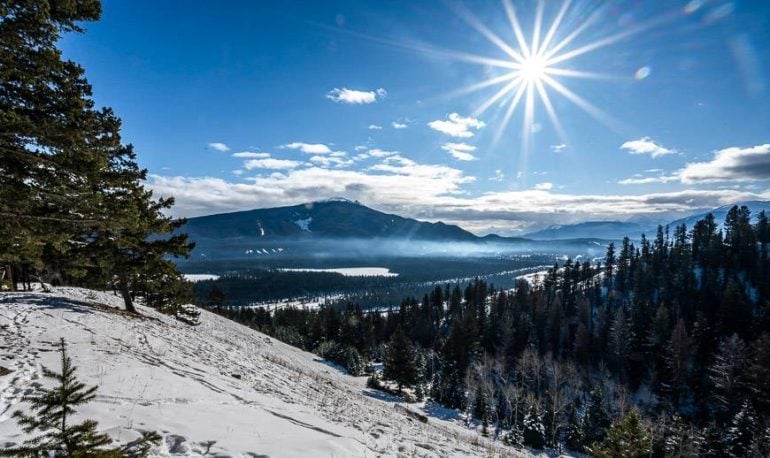
It’s steady climbing all the way to the summit of Fairview Mountain – with the last 30 minutes completely in snow.
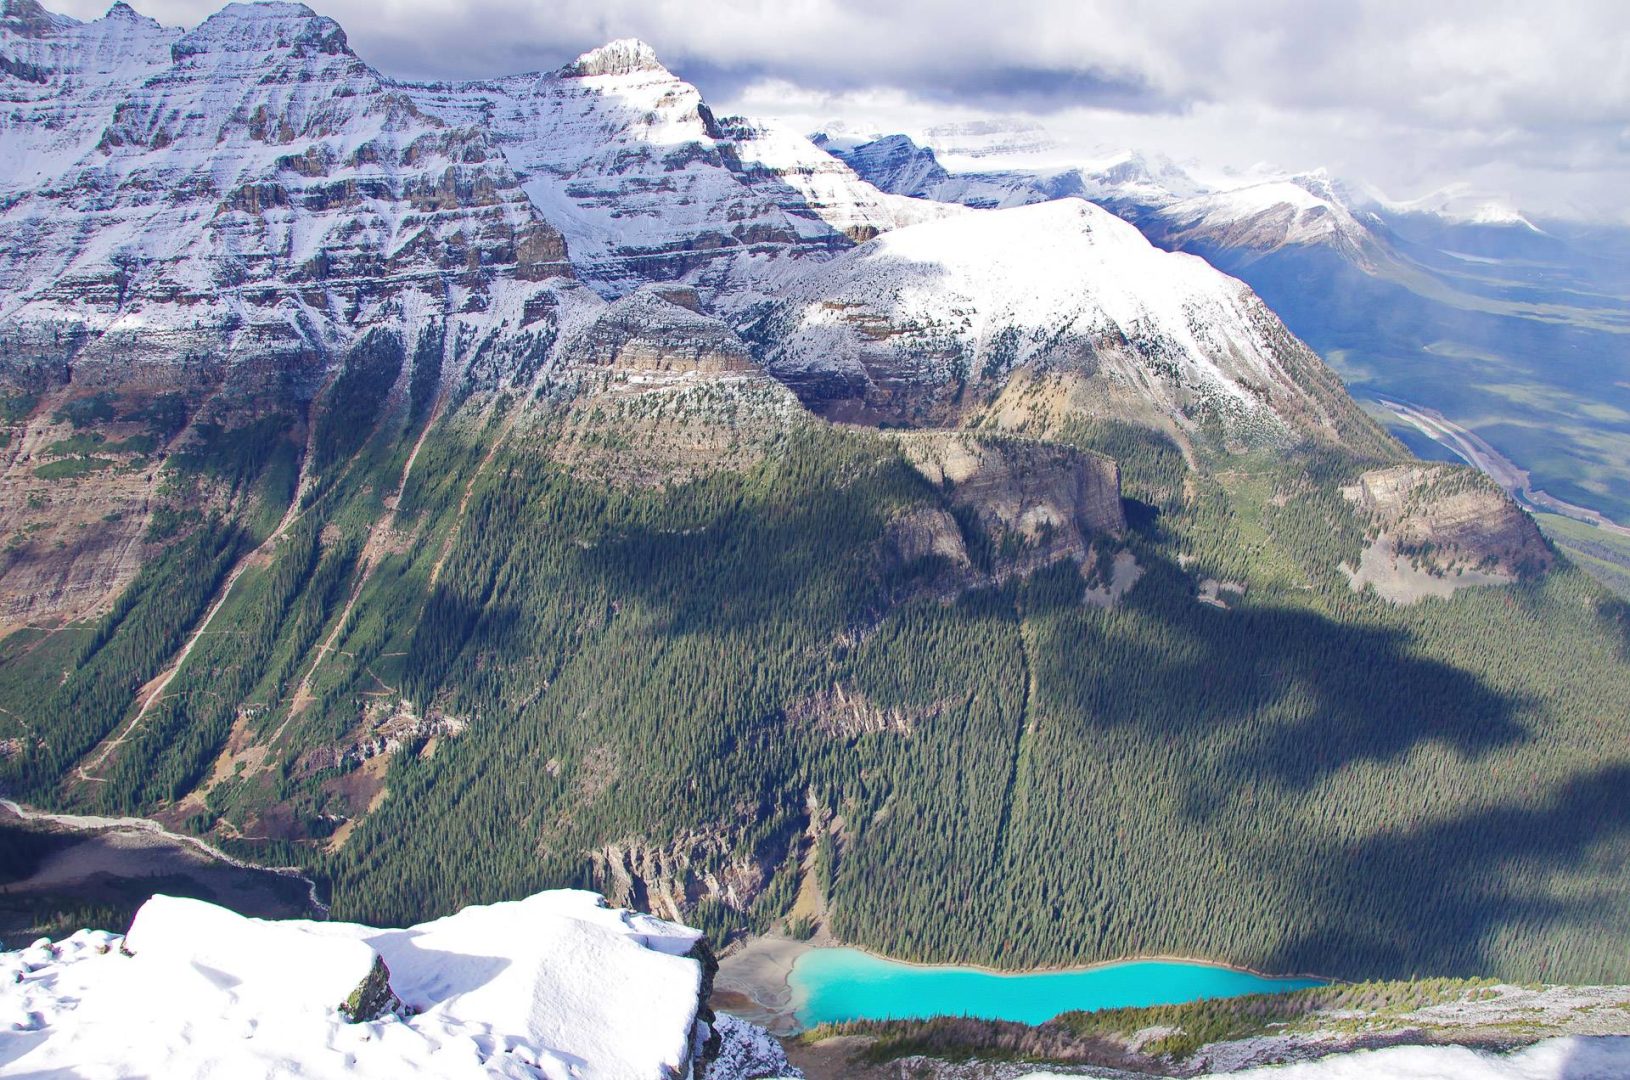
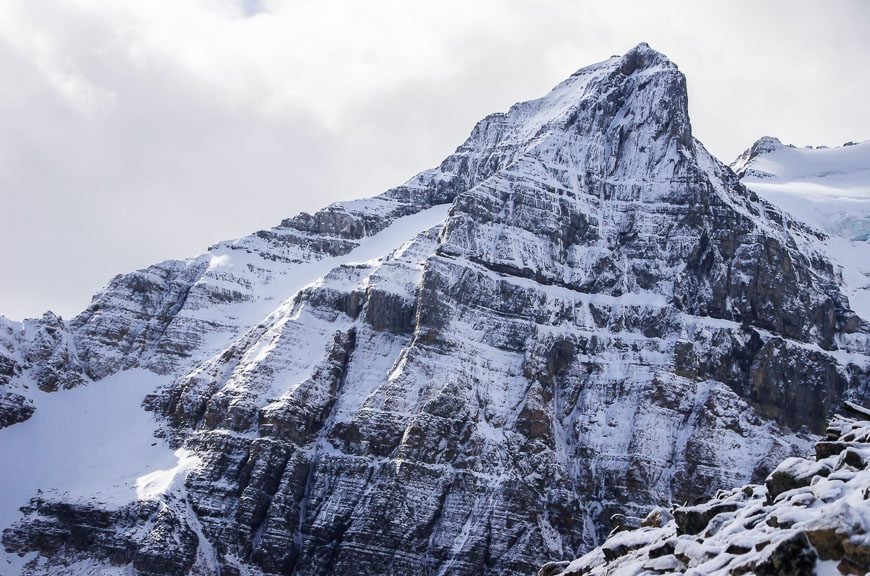
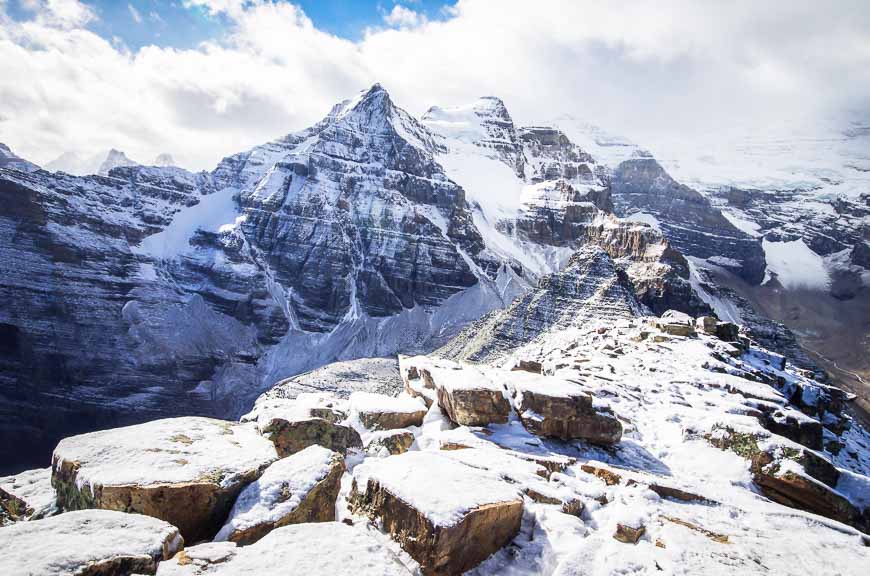
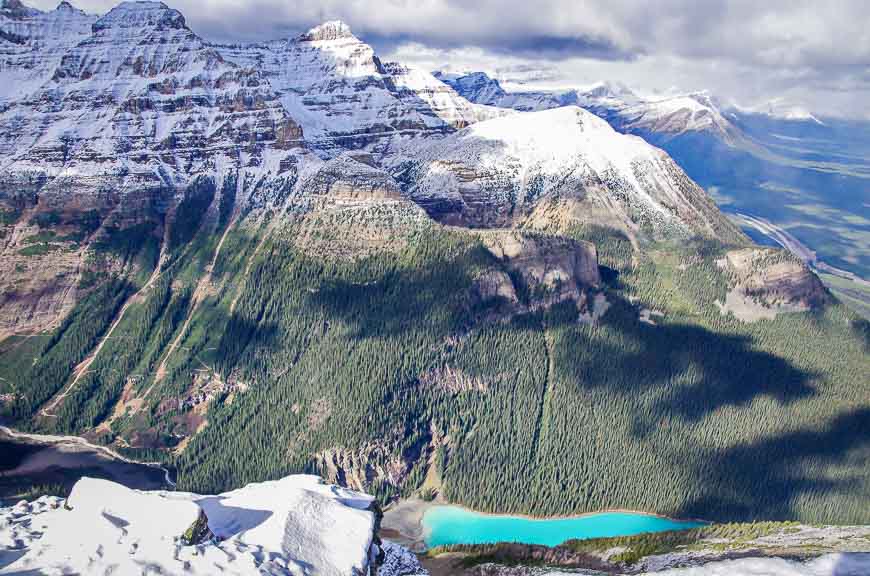
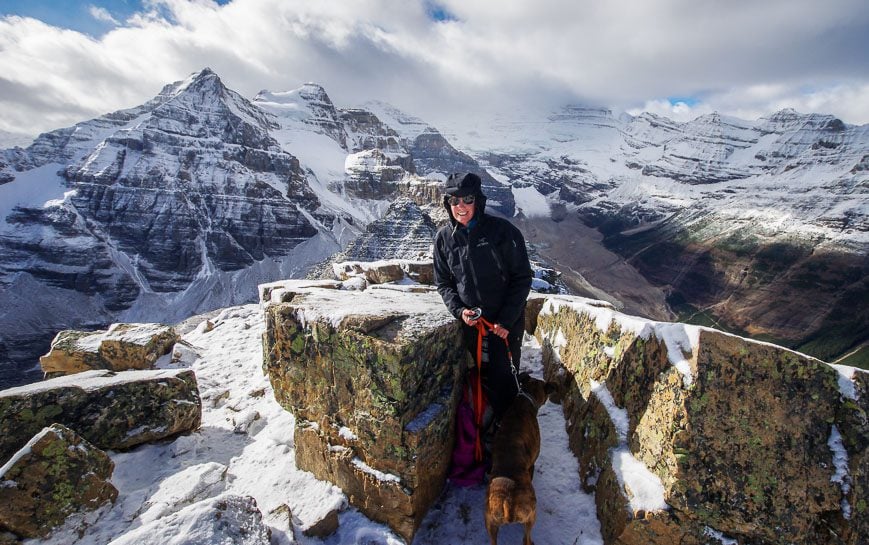
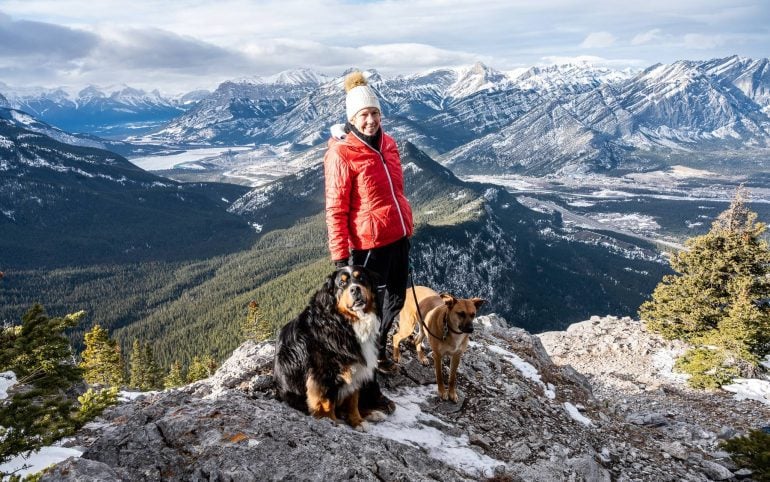
Stop every so often and savour your surroundings. They are truly magnificent. Once at the summit, revel in the views , especially of Lake Louise far below – and stay well back from the edge.

A fast descent from Fairview Mountain
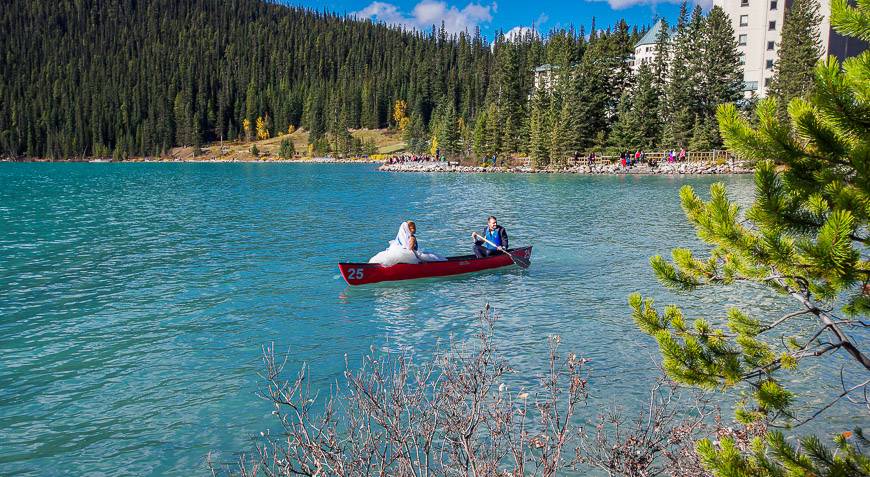
Our descent off Fairview Mountain was rapid. In under two hours we were standing by Lake Louise along with hundreds of other camera-toting tourists. The wind died down and off came the layers of clothes. The weather for a Thanksgiving weekend was pretty darned sweet.
Check out the photo below. I think starting married life with a paddle on Lake Louise bodes well for the future – don’t you agree?
Where to stay in and near Lake Louise
If you want to be on Lake Louise it will cost you quite a bit. The Fairmont Chateau Lake Louise enjoys the best views of the lake and once you’ve parked, you’ll have great access to hiking trails.
Paradise Lodge and Bungalows -a kilometre from the lake would be another option. You can walk to trails by Lake Louise from this place.
In Lake Louise Village the Post Hotel and Spa is lovely and the food is great but it’s not on the lake.
If it’s cozy log cabins you’re after check out Baker Creek By Basecamp.
An affordable hostel option is this one in Lake Louise.
Location map of the Fairview Mountain hike
A few things to take with you on the Fairview Mountain hike
Carry a large enough day pack to fit extra clothes and food, the 10 hiking essentials, water bottles….I personally like the 30 L size but I always carry a camera and an extra lens.
A bum cushion is a nice treat when you stop. On cold or wet days, it sure beats sitting on a rock.
Hiking poles come in handy on this hike, especially on the descent.
If you’re prone to blisters, I highly recommend Compeed.
Other hikes around Lake Louise to consider
Other hikes that tend to be busier that start from Lake Louise I can recommend include:
I would also recommend some hikes that aren’t too far away but they don’t require a Parks Canada shuttle. Arnica Lake and Taylor Lake are excellent larch hikes in September.
- Arnica Lake Trail Hike, Banff National Park
- Paget Lookout – Paget Peak Hike in Yoho National Park
- The Taylor Lake Hike in Banff National Park
Click on the photo to bookmark to your Pinterest boards.

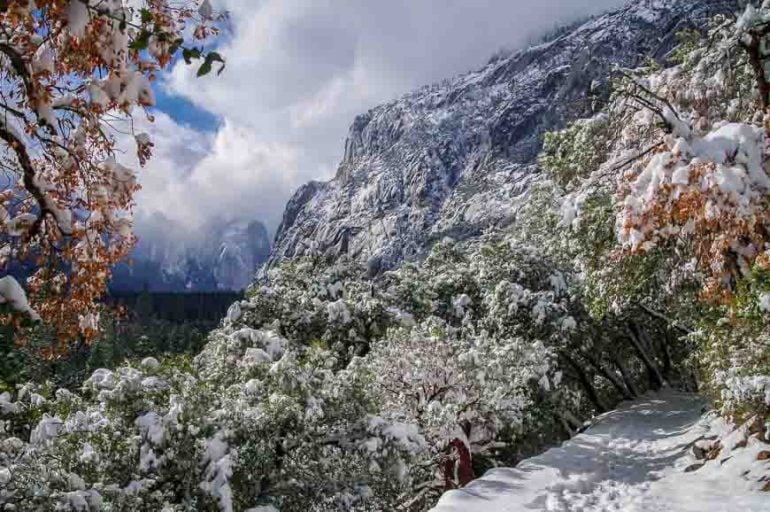
Snow?! Still, it looks absolutely spectacular.
Talk about stunning, in your face views. You always find the most amazing hikes, Leigh.
Ahh, how sweet and romantic! A lovely way to start their life together – on clear, blue, (relatively) calm waters.
@Marcia Canoeing on Lake Louise is pretty darned romantic after a wedding if you ask me. They were lucky to get great weather.
@Lisa It’s especially hard to believe considering how warm it’s been in Calgary. We did go prepared though – especially since I can see the snow on the mountains from my dog walking route. The snow accentuated the strata on the mountain – extra pretty.
@Mandy The signs and threats re fines were there on Sunday morning. Has it literally just ended? Do the bears know that?
The Moraine Lake Road is now closed for the season.
@Andra That must have just happened – though one doesn’t need the Moraine Lake Road for Fairview.