Backcountry skiing to Skoki Lodge via Boulder and Deception Passes can be challenging but only under whiteout conditions. Otherwise it’s straightforward unless you have a lot of powder or crusty conditions on the descent from Deception Pass.
I have already written about what awaits you when you finally get to Skoki Lodge – but first you’re going to have to get there.
In the winter that means you need to backcountry ski or snowshoe eleven kilometres in from Temple Lodge at the Lake Louise Ski Resort, accessed via a gondola ride up and a chairlift ride down. The other alternative is a 24 km backcountry ski in via the Pipestone River but you need to be a strong skier to attempt that.
The time required to ski one way to Skoki Lodge will vary from three to six hours depending on your ability and the weather conditions. Plan accordingly.
This post includes some affiliate links. If you make a qualifying purchase through one of these links, I will receive a small percentage of the sale at no extra cost to you. Thank you very much for your support.
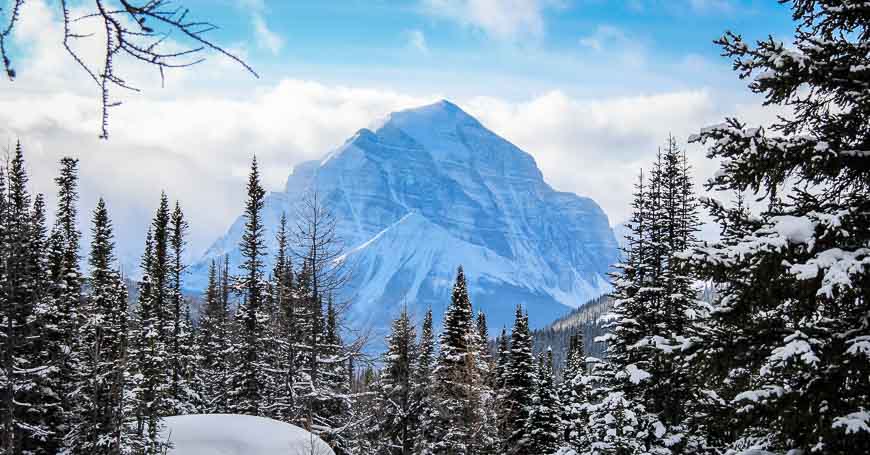
Skiing into Skoki Lodge is very popular – largely because the scenery is outstanding, the avalanche danger if you stick to the route is basically non-existent, and the level of difficulty is reasonable for many skiers.
Skoki Lodge is most commonly accessed via Boulder and Deception Passes. Boulder Pass is a snap, Deception Pass less so.
The route on skis to Skoki Lodge via Boulder and Deception Passes
First, don’t do what we did. We skied from the Ptarmigan Chairlift past Temple Lodge looking for the trail. What you need to do is turn right as you’re looking straight on at Temple Lodge, and climb about 100 metres up the hill.
Stay left as you climb the hill because the trail to Skoki heads left into the woods. It’s marked and has a sign with the usual backcountry warnings.
Not far from the start of the trail is an intersection. Stay right. Climb gradually through the woods for the first two kilometres. The trail is marked with poles but there are no signs to Skoki except at the start. Obviously, if it’s snowed you’re going to be breaking trail too.
We were the first on the trail that day so that’s exactly what we did. And if it’s windy the tracks fill in quickly.
Eventually you break out into a large open meadow with gorgeous views if the day is clear. Take the time to look back – and not just forwards, because that’s where the best views are.
The map provided at check-in shows the Halfway Hut on the right side of the trail as you’re skiing in. But it’s not. You’ll see it on a small knoll above a creek on the left. It’s rustic but a good place to get out of the wind on a cold day.
Continue on up to Boulder Pass – obvious because of the large number of boulders. At the top you may need to take your skis off if the ground has been stripped of snow.
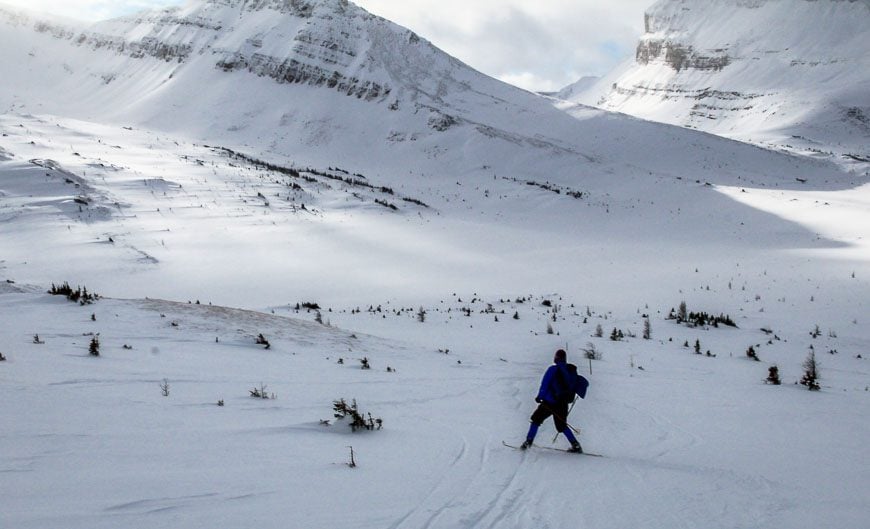
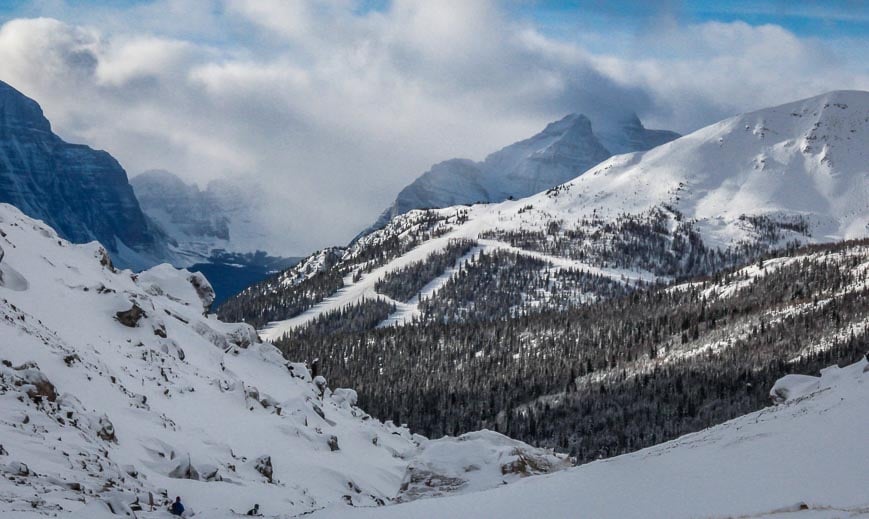
Boulder Pass to Deception Pass
From Boulder Pass, there’s no wind protection until you’re down in the trees on the other side of Deception Pass. You have to cross the lake and the wind can howl through here.
On the day we skied in, visibility was poor. In a snowstorm you’d probably only be able to see one or two poles ahead, at a time.
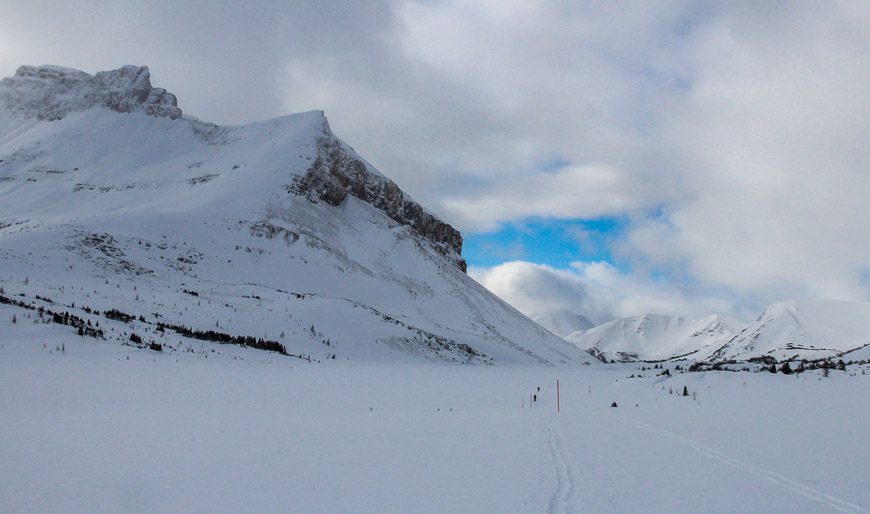
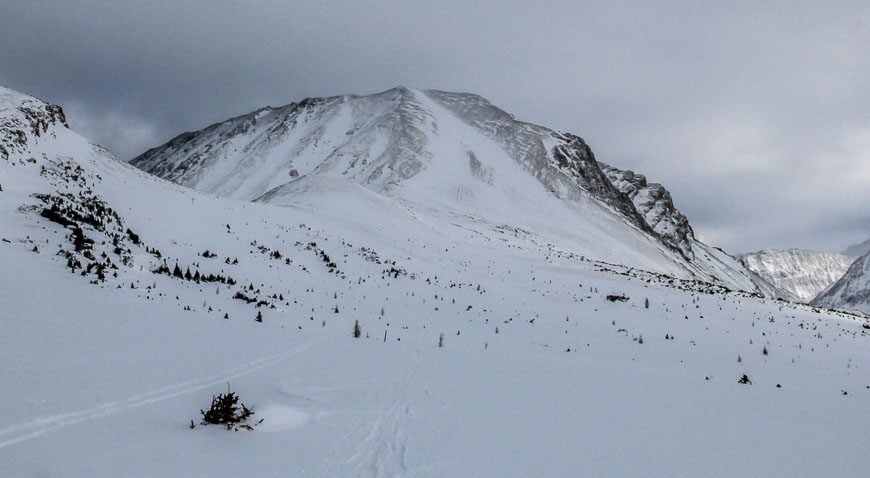
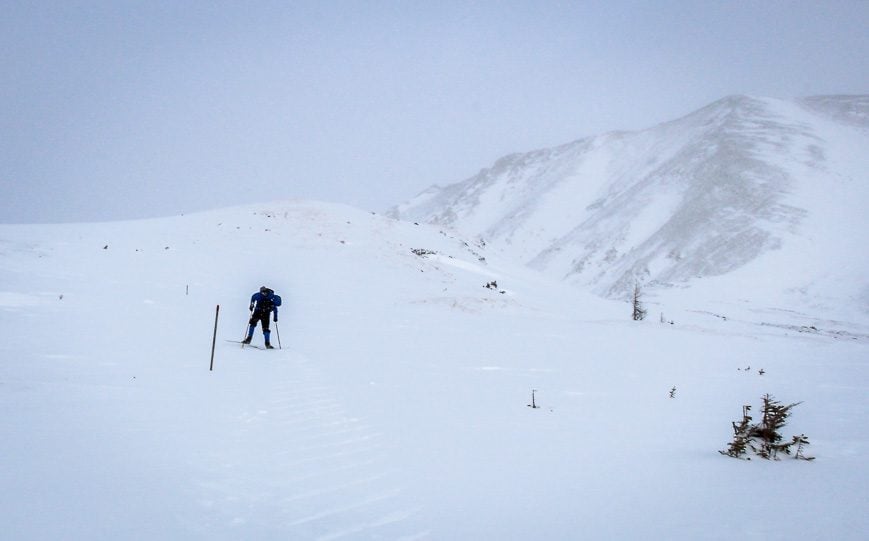
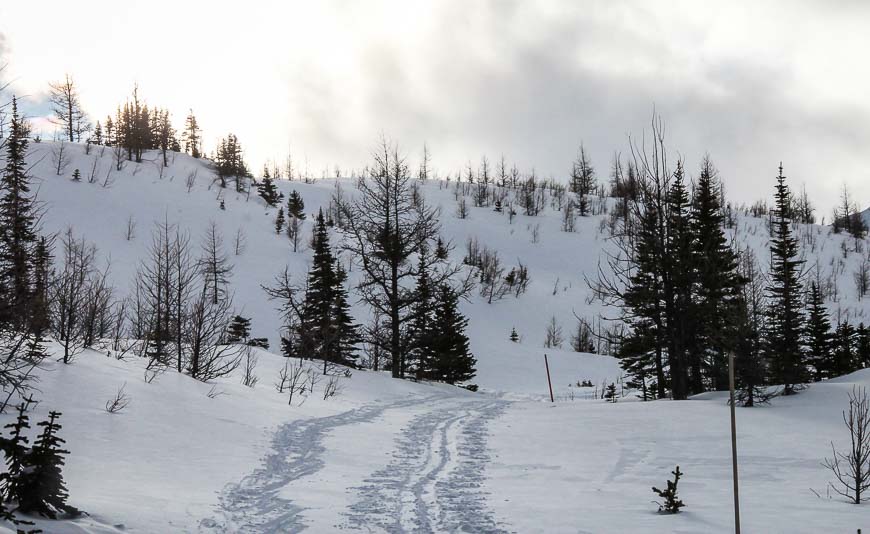
Once you’ve crossed the lake it’s time to start climbing. Its 180 metres (590 feet) up to Deception Pass, the high point of the route at 2510 metres (8,235 feet). Lots of people skin up when they start climbing but we didn’t find that we needed skins on either pass.
The pass is straight forward when you can see. In whiteout conditions it wouldn’t be fun.
Deception Pass to Skoki Lodge
As you near the top of the pass look for a marker to your left; the trail veers slightly left before heading straight and then dropping down. If you like skiing down, then you’ll find the rest of the route to be fun and fast and it might take you only half an hour.
From Deception Pass, follow the trail marked with large stakes. It continues across the slopes of Fossil Mountain and then angles left down into the trees.
But if you’re like Angela, who we met on our trip, the descent is where the tough skiing started. It could easily take you another 90 minutes if you aren’t a good downhill skier.
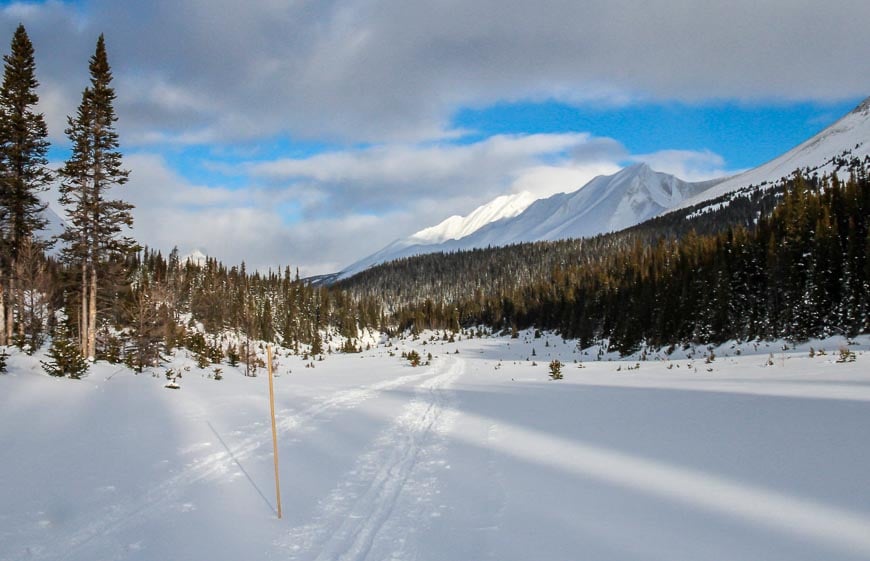
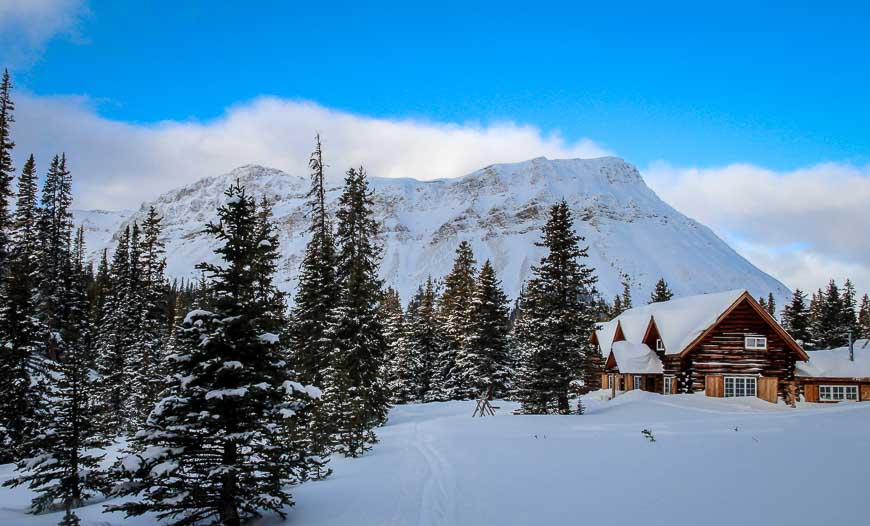
You should continue to see stakes and probably snowmobile tracks as you get closer to Skoki Lodge. You will pass trails heading off to the right directing you to Red Deer Lakes. Ignore those signs and any other side trails. Continue skiing to Skoki Lodge, located on the right bank of Skoki Creek beneath Skoki Mountain.
And you won’t see it until you’re a minute away. Some people were looking for smoke – but none will be visible. But then all of a sudden – voila – and you’ve arrived.
Useful information for your Skoki ski trip
Pack lightly but pack smart. You need clothes that wick the moisture away and you need a lot of layers. Include a coat with a hood and aneck warmer.
Bring cross-country ski skins andski wax.
Don’t forget a spare ski tip and basket for your pole.
Duct tapealways comes in handy.
Include afirst aid kitwith band aids and moleskin to help with blisters.
Your water will freeze so keep it buried in your pack. Think about bringinga thermoswith something hot to drink.
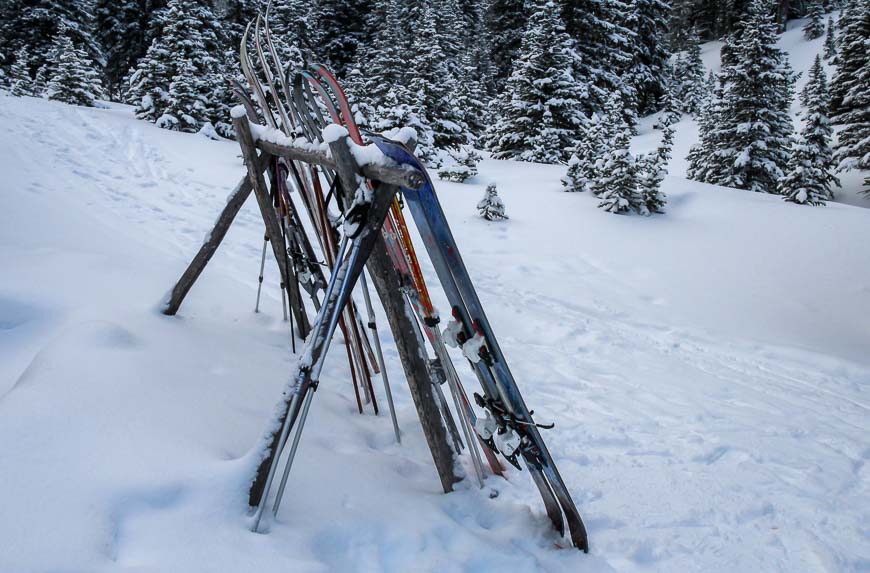
My skis are probably 15 years old – minimum. But they still work for me. There were all types of skis – from fancy, back country skis, to basic rental gear to my classic stuff.
Buy a topo map and bring it. Or download Organic Maps – an offline hiking app.
Include aheadlampAND extra batteries.
I thinkone shovel per groupis a good idea.
Carryenergy bars. Keep them close to your body if you don’t want to break a tooth.

