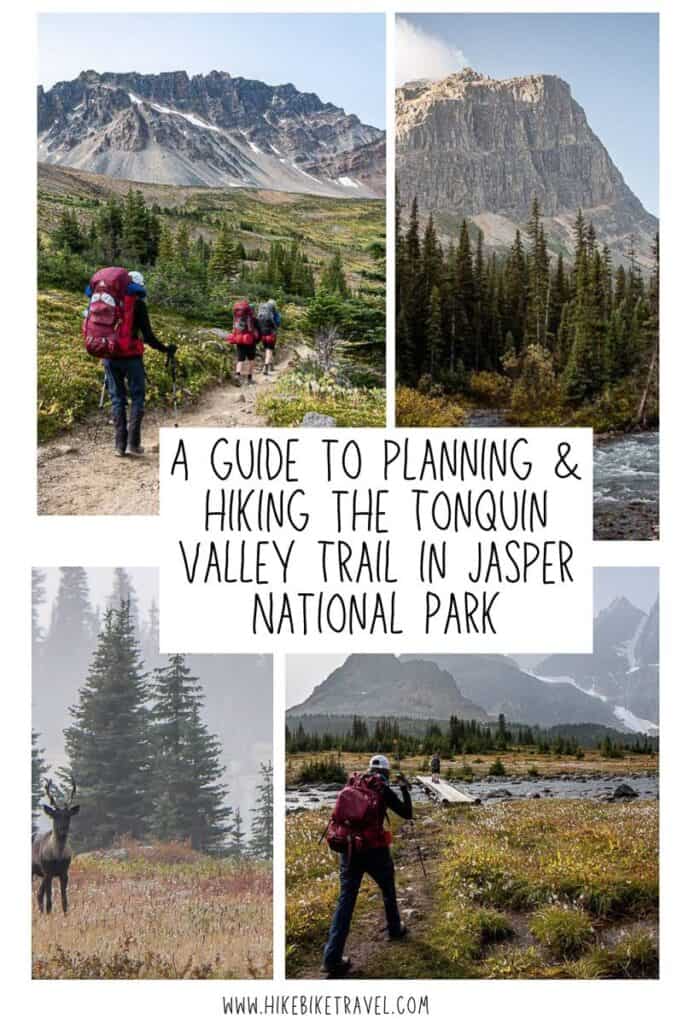
Tonquin Valley Hike – What You Need to Know
For a take-your-breath-away beautiful multi-day hiking trip in the Canadian Rockies, you must put the Tonquin Valley hike in Jasper National Park on your hiking wish list.
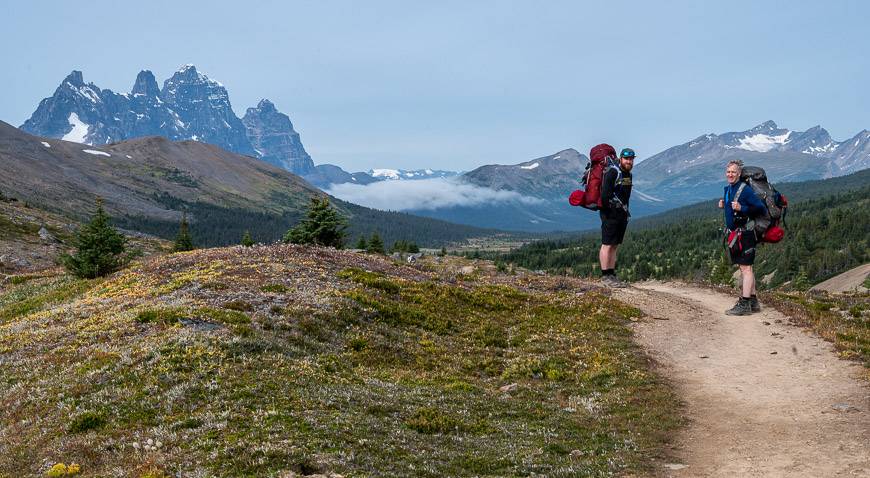
You’ve probably seen postcards with the famous Ramparts in touristy shops in Banff or Jasper. They’re a mountain range with 10 named summits like Drawbridge, Bastion, Dungeon and Turret Peak – towering over beautiful Amethyst Lakes and the main reason you want to do this hike.
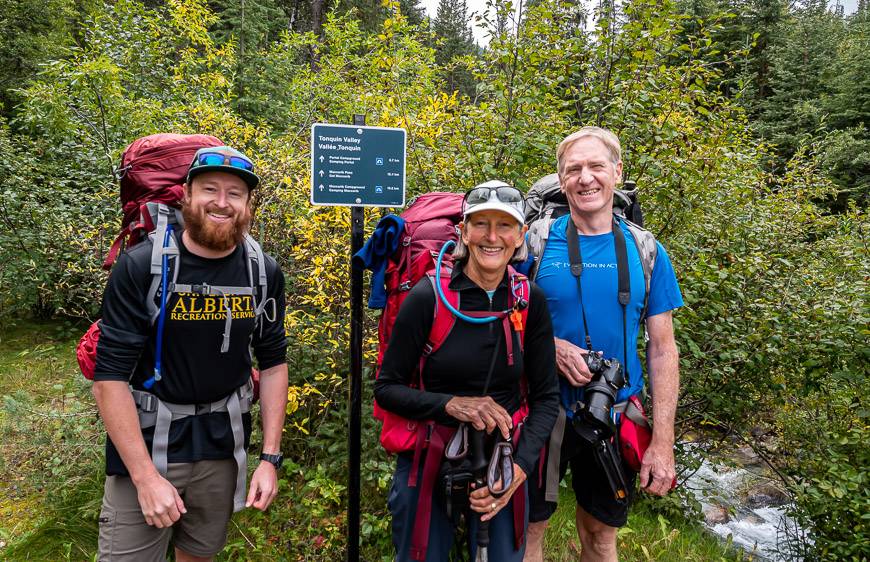
But there are other reasons to do the hike – like the chance to see woodland caribou and meadows filled with wildflowers. And there is always something about the camaraderie you experience on a multi-day hike.
Because of the 2024 Jasper fire access is only possible via the Portal trailhead. Cavell Road and Astoria Trailhead are closed until further notice.
Thanks to COVID-19, I was able to do the Tonquin Valley hike in September 2021. John and I should have been on a hiking trip in Norway’s Lofoten Islands and on Sweden’s Kungsleden Trail. You know the rest of the story. Instead – and with the help of my friend’s son, we nabbed campsites in the Tonquin Valley the day Parks Canada reopened for reservations in June.
I’ve wanted to do the Tonquin Valley hike for a very long time – but only in September when the bugs are dead. Most years I’m over the top busy in the fall, but not during COVID. It was such a treat to have something of this magnitude to look forward to all summer and to have the time to do it.
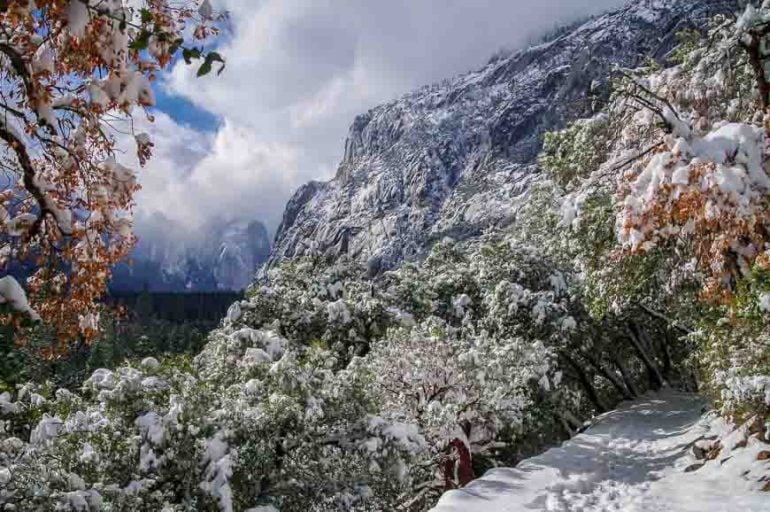
We also got lucky with the weather – a partial day of rain one day and a bit of smoke on a couple of days – and that was with a September 12th start. The Tonquin Valley hike in September is known to be snowy, rainy, and cold so go mentally prepared when you do it!
December 2024 update: Access to the Tonquin Valley via the Astoria Trailhead is under assessment for summer 2025 hiking. Tonquin Valley hiking will be allowed – but you need to have a good look at the maps before you book, in case you need to do an out and back hike instead of one way.
This post includes some affiliate links. If you make a purchase via one of these links, I will receive a small commission at no extra cost to you. Thank you very much for your support!
Would you like to save this?
Tonquin Valley hike summary
Distance: 43 km (26.7 miles) one way
Elevation gain: 905 m or 2,969 feet
Level of difficulty: Easy as far as backpacking trips go.
Best time to go: Late August into September when the bugs have died down.
Number of days needed: 3 – 5 days depending on how many side trips you want to do.
Number of backcountry campgrounds: Seven
Trailheads: There are two trailheads – Astoria and Portal. Ideally arrange a shuttle or get dropped off at one trailhead and park at the other.
Booking campsites: The dates for reservations vary from year to year. Backcountry reservations open on Wednesday, January 29, 2025 at 8 AM MT.
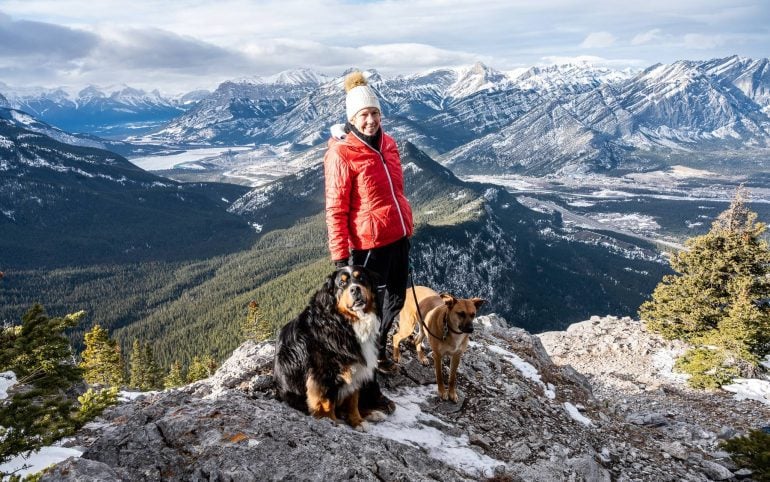
Dogs allowed: No, because this is caribou country.
Don’t forget: Bear spray – and be sure that it’s accessible.
Didn’t get the campsite reservation you were looking for? Don’t give up. Be the first to know when there is a campsite cancellation for your desired trip dates by visiting Schnerp. You can also try Campnab – a Vancouver-based company with a user-friendly site and a great map. They have a directory of parks they cover in Canada and the US – including regional parks and national forest sites.
Map showing Tonquin Valley trailheads (and the route if you enlarge)
How hard is the Tonquin Valley hike?
As far as multi-day backpacking trips are concerned, this is one of the easier trips in the Canadian Rockies. The whole circuit is just 43 km long with a very reasonable 905 metres of elevation gain – as much as one does on many day hikes in the Rockies. The effort – reward ration on the hike is particularly good!
How many backcountry campgrounds are there on the Tonquin Valley hike?
There are seven backcountry campgrounds along the Tonquin Valley trail. If you start at the Portal trailhead the campground options are as follows – with all distances from the Portal trailhead. Be aware that distances on signs don’t always match up with guidebooks.
- Portal Creek Campground – 9.0 km
- Maccarib Campground – 18.3 km
- Amethyst Lakes Campground – 21.6 km
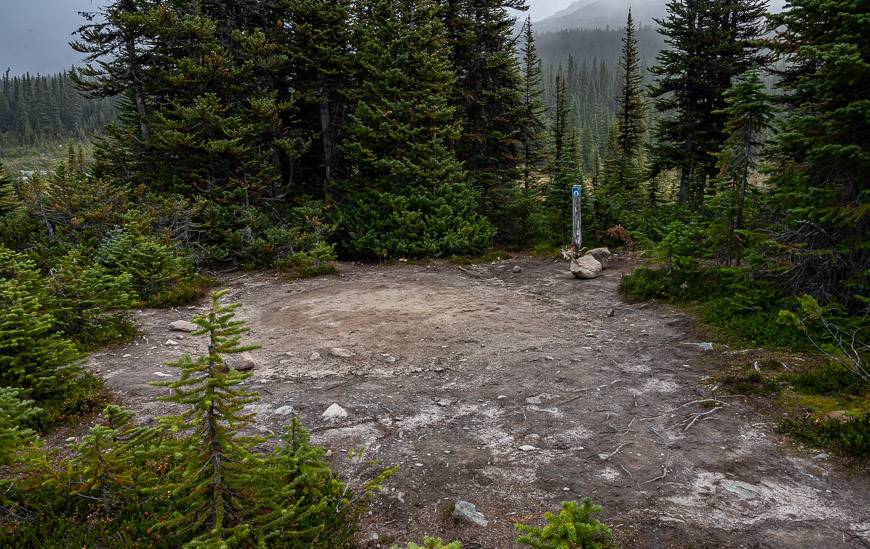
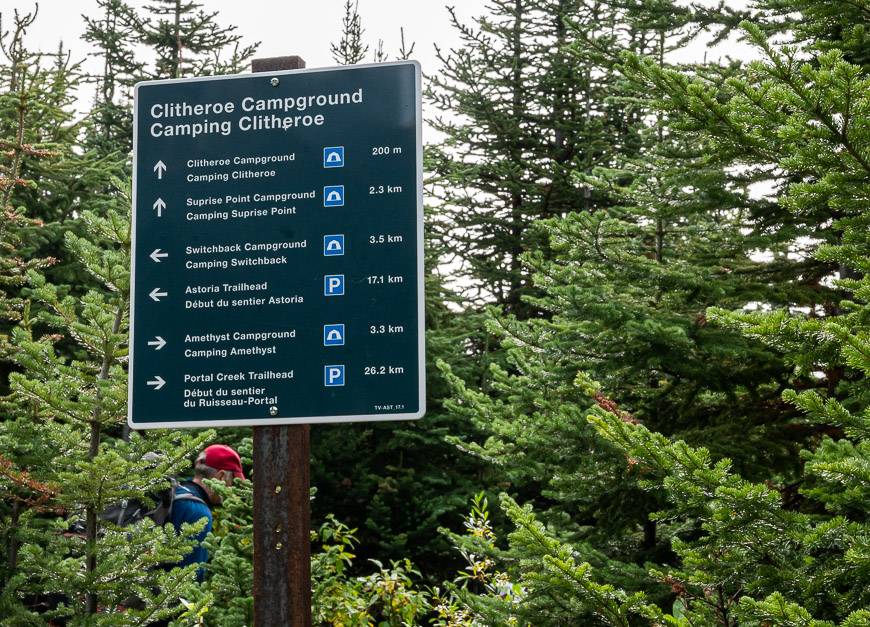
- Surprise Point Campground – 29.2 km
- Clitheroe Campground – 27.0 km
- Switchback Campground – 28.8 km
- Astoria Campground – 34.8 km
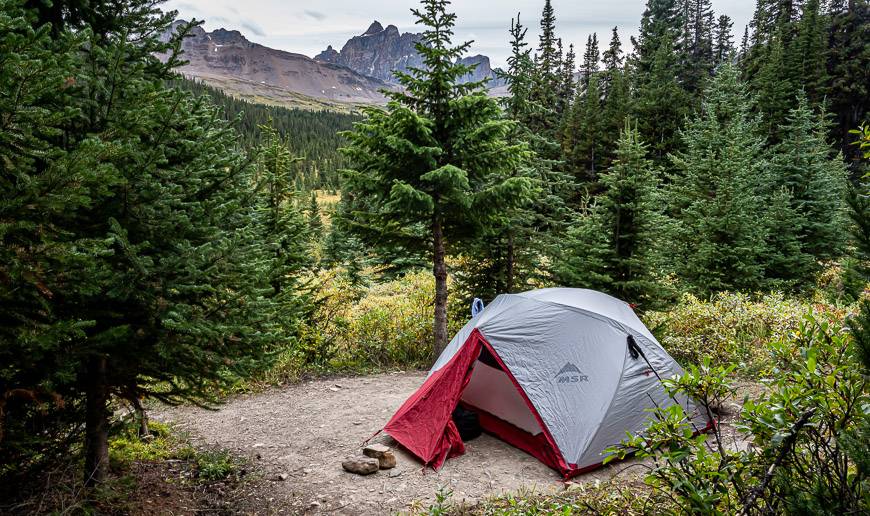
If I had a choice (and you often don’t if you’re firm with your dates), then I would try and spend a night at the Surprise Point Campground – providing it was in the fall and/or the Amethyst Lakes Campground. My least favourite of the four we stayed in was Clitheroe Campground as it was in the woods – with no views and it was a bit of a haul to get water.
What is the best itinerary for the Tonquin Valley hike?
There is no best itinerary on the Tonquin Valley hike, but you would be doing yourself a big disservice if you whipped into the Maccarib Campground for instance and never made it to the Amethyst Lakes. You’re going to want to see the Ramparts – the iconic mountain range lording over Amethyst Lakes, so do what it takes to get there.
Ideally this hike should be done as a one-way trip – but that requires a shuttle. We were lucky as we had two cars in our group, so we left one at the Astoria River trailhead and the other at the Portal trailhead.
You can use one of the Jasper taxi companies like Mountain Express Taxi and Limousine (780-852-4555) and they will help with a shuttle for approximately $100 split among however many of you there are. I understand that there is cell service to at the Portal trailhead.
Tonquin Valley hike itinerary suggestions with a shuttle
Itinerary 1 (3 nights/4 days): Start at the Portal trailhead and hike to Portal Creek Campground. On day 2 continue over Maccarib Pass and onto Amethyst Lakes Campground or Surprise Point Campground depending on what’s available. On day 3 hike to Astoria Campground and out on day 4.
Itinerary 2 (3 nights/4 days): Start at the Portal trailhead and hike to Maccarib Campground. On day 2 head for Surprise Point Campground – and do the out and back side trip to Outpost Lake and the Wates – Gibson Hut. Or just hang around camp and enjoy superlative views of the Ramparts. On day 3 hike to Astoria Campground and hike out on day 4.
Itinerary suggestions without a shuttle
Itinerary 1 (2 nights, 3 days): Hike from the Portal trailhead to Portal Creek Campground on day one. On day 2, hike to the Maccarib Campground, drop your gear and set up camp. Then do and out and back easy hike without a pack to the Amethyst Lakes Campground for some great views of the Ramparts. On the third day, hike out to the Portal trailhead.
Itinerary 2 (2 nights, 3 days): Start at the Astoria trailhead and hike to either Switchback or Clitheroe Campground. On the second day, hike to Surprise Point or Amethyst Lakes Campground. On day 3, hike back to the Astoria trailhead.
Itinerary 3 (3 nights, 4 days): Start at the Astoria trailhead and hike to Clitheroe Campground. On day 2, hike to Amethyst Lake Campground with an optional side trip to Surprise Point Campground. On day 3, hike out and back to Maccarib Pass from the Amethyst Lakes Campground. On day 4, hike back to the Astoria trailhead.
There are so many combinations and permutations of the Tonquin Valley hike. We did none of what I have just suggested because of availability of campsites – but because of that, we took advantage of a couple of side trips. One we didn’t do, that I would if I returned, is the hike up the Eremite Valley from the Chrome Lake junction.
John and I met our guide from the Burgess Shale hike by chance at the Clitheroe Campground and she had done this hike by herself – and raved about it. We also missed the 5 – 6 hour return hike to Tonquin Hill from the Maccarib campground.

Are there backcountry options if you hate camping?
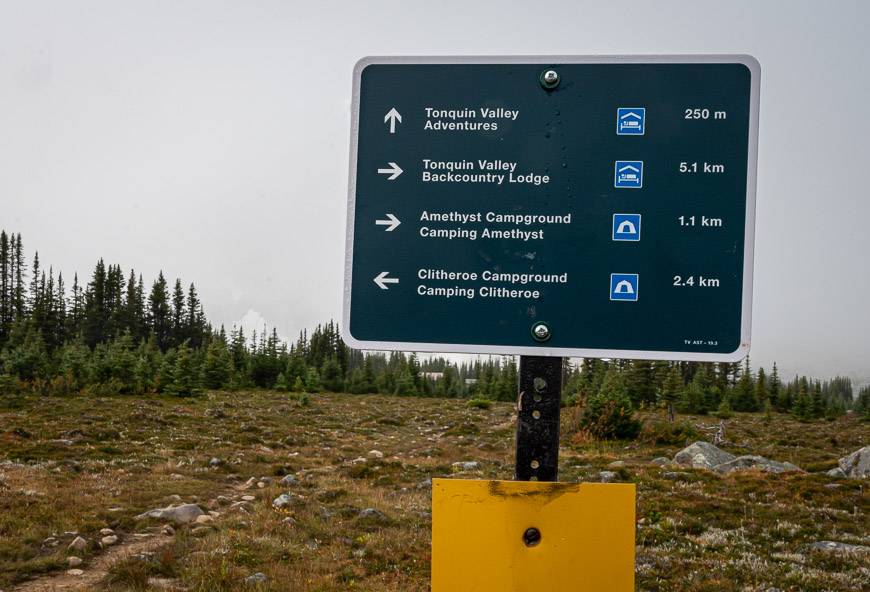
2023 Update: The two backcountry lodges in the Tonquin Valley Tonquin Valley Backcountry Lodge and Tonquin Valley Adventures have been bought out by Parks Canada and will no longer be operating.
The Alpine Club of Canada’s Wates – Gibson Hut on Outpost Lake still operates. We visited on our third day of hiking. You can book as a non-member but only 30 days out. The hut is basic with mattresses and a propane stove provided. You must bring your own sleeping bag and all your food.

What is the best time of year to do the Tonquin Valley hike?
I would highly recommend that you go late in the summer when the mosquitoes and blackflies have died. September is ideal if the weather holds out. Then you’re treated to fall colours. Just be prepared for cold nights and snow.
How do you book the Tonquin Valley hike?
You’ll need to get a backcountry camping permit so every year check the Parks Canada website sometime in January to find out what the opening date is. You can book online as of January 29, 2025 or you can call 1-877-737-3783.
If you’re set on a certain time period, be prepared to hop online as soon as reservations open. I’d recommend flexibility in both your dates and campsites. Plan a couple of itineraries starting from each trailhead before reservations open.
Should you miss out on the time you want, don’t give up hope. There are always cancellations, so check the website regularly or call the number noted above.
We certainly didn’t need to spend four nights on the trail but it did allow for side-trips and a leisurely experience. I’d recommend a three-night, four day Tonquin Valley hike if I was doing it again. Note the itinerary options above.
Are there any tour operators who offer the Tonquin Valley hike?
There are a couple of tour companies who offer backpacking trips. Check out the itineraries from the following companies – Canadian Skyline Adventures offering 3, 4 and 5 day tours and Yamnuska – offering a four day trip.
What should you take on the Tonquin Valley hike?
If you’re crazy enough to attempt this hike in the height of the summer, the most important gear for your sanity is bug repellent and a bug jacket along with after-bite cream.
Assuming you want to enjoy the experience and have booked for late summer and into September the following are all important items to have with you:
- long underwear – tops and bottoms
- rain gear including pants, a jacket and a ballcap to keep the rain off your face
- gaiters
- hat, gloves and mittens
- a down vest and/or fleece jacket
- hiking pants perhaps with a zipper if it warms up
- short-sleeved quick drying shirt
- tent with a waterproof fly (I’m a fan of MSR Eureka tents)
- warm sleeping bag and a sleeping pad
- backpack with a waterproof cover
- lightweight stove and fuel, mug, bowl, cutlery
- high energy, lightweight food; take an extra day’s worth
- toilet paper
- water purification tablets or a water filter especially with all the horses on the trail
- waterproof bags (even green garbage bags will work) for all your gear
- broken in hiking boots with ankle support
- camp shoes or crocs (my fave)
- all the items listed in the 10 hiking essentials
- the Gem Trek Jasper & Maligne Lake map
Do you see any animals on the trail?
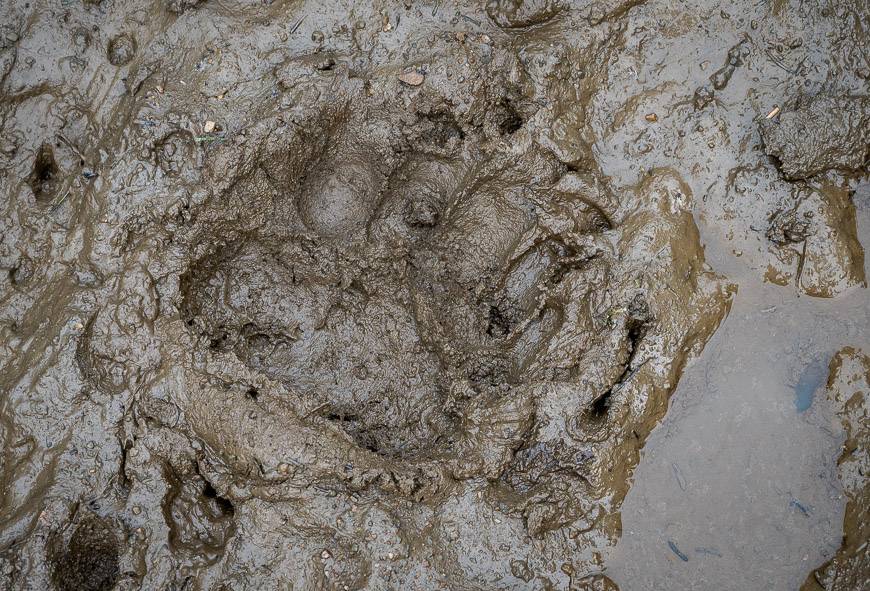
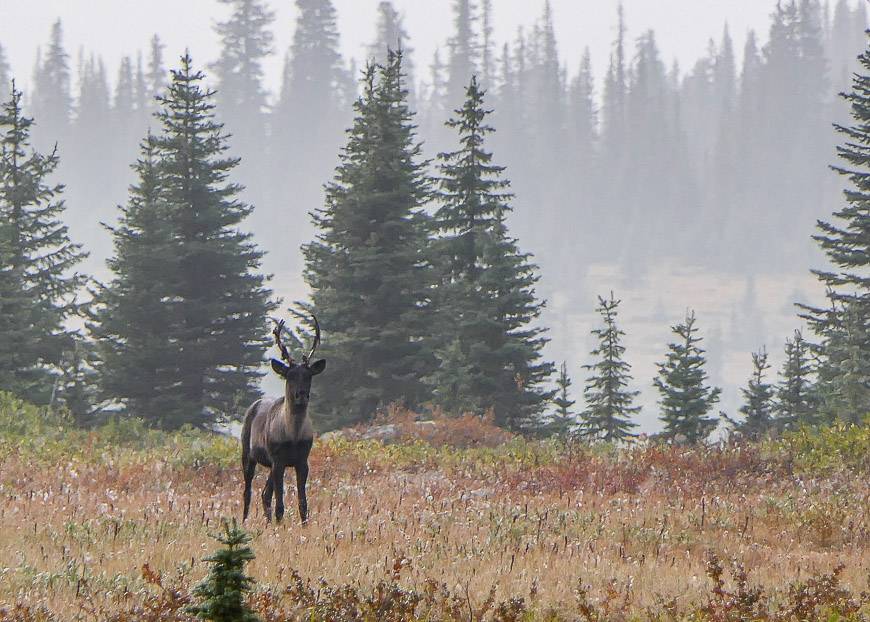
We saw fresh grizzly bear tracks but no scat, one woodland caribou and a couple of spruce grouse – not much for a five-day hiking trip.
But the Tonquin Valley trail is in the middle of bear country, so go prepared. I’d recommend that you read Tips for Staying Safe in Bear Country before you begin your trip. Always keep bear spray accessible. I put mine in a bear spray holster so I don’t set it off accidentally.
Facilities along the trail
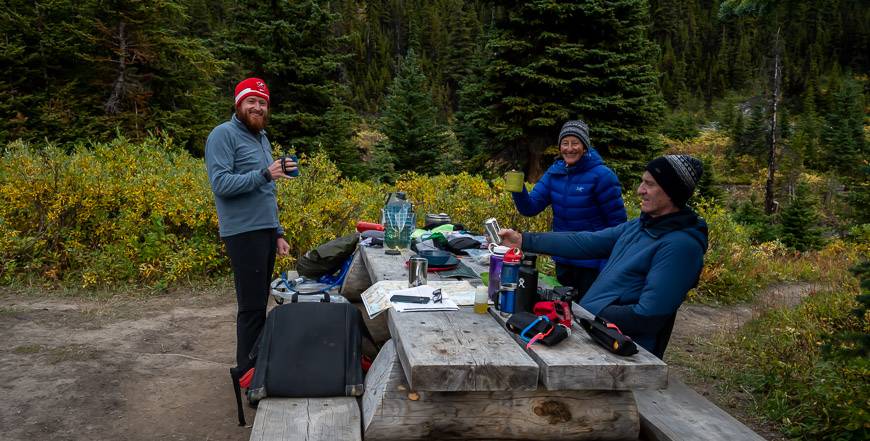
Facilities are basic on the Tonquin Valley trail. Every campsite has picnic tables, some more than others.
All campsites come with bear-proof boxes, so you never have to hang your food. (Actually, I can’t say that about Switchback Campsite as I didn’t visit it.)
Privies are basic as you can see below. We put a hiking pole across the trail if someone was using it, so there was a bit of privacy. Astoria Campground had a regular outhouse – and a new one at that. Don’t forget toilet paper and hand sanitizer.

Our experience on the Tonquin Valley hike
Here’s a day by day account of our experience on the trail.
Day 1 – Portal Creek Trailhead to Portal Creek Campground
We didn’t start hiking until early afternoon as we had to drive up from Banff and then do the car shuttle.
The Portal Creek campground was a great choice for the first night as it’s only about a 9 km hike in with an elevation gain of 530 m. It took us roughly three hours.
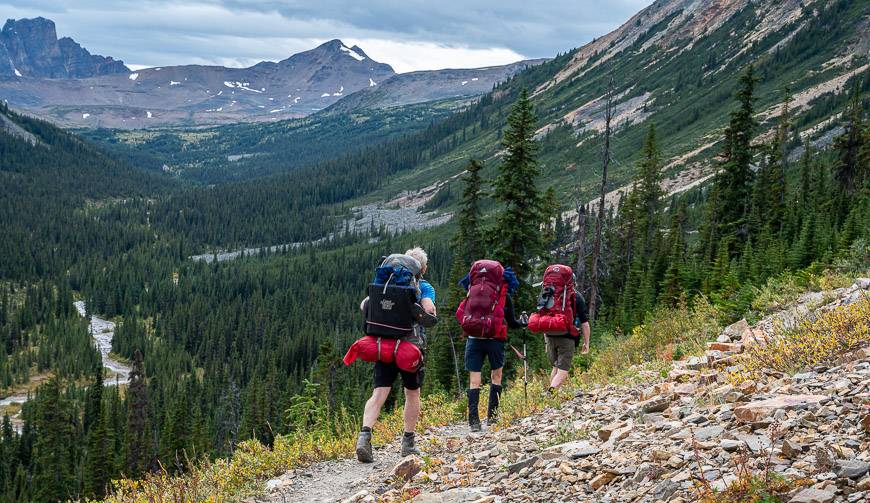
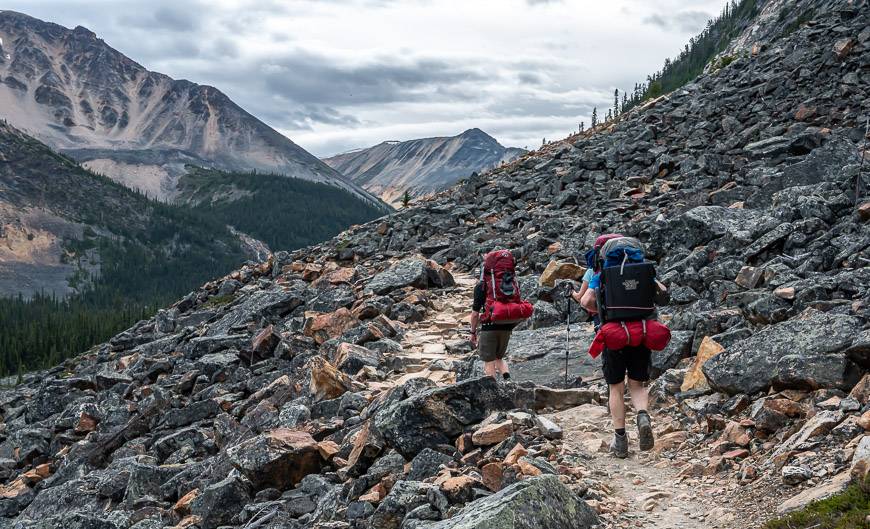
The trail starts by heading through dense forest along a pretty creek. About halfway into the hike, you start getting valley views.
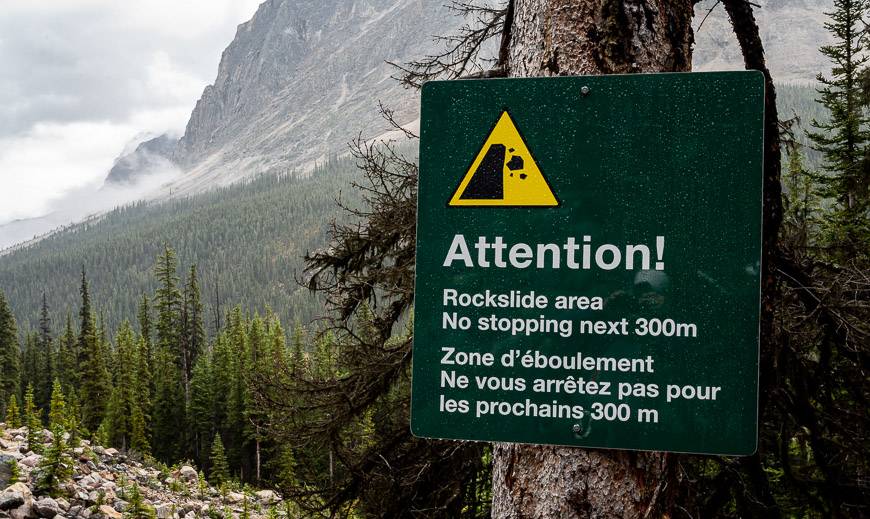
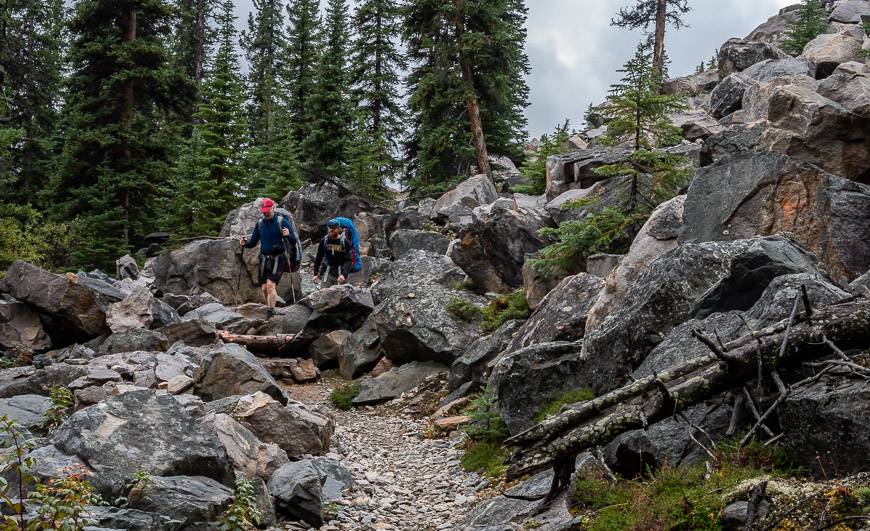
Once you cross the rockslide below Peveril Peak, the vistas really open up. The trail eventually descends to the creek – so it’s a bit muddy in places but nowhere near as bad as I expected. The campground is a stone’s throw away from Portal Creek so water is easy to get. I quite liked this campground.

Day 2 – Portal Creek Campground to Maccarib Campground
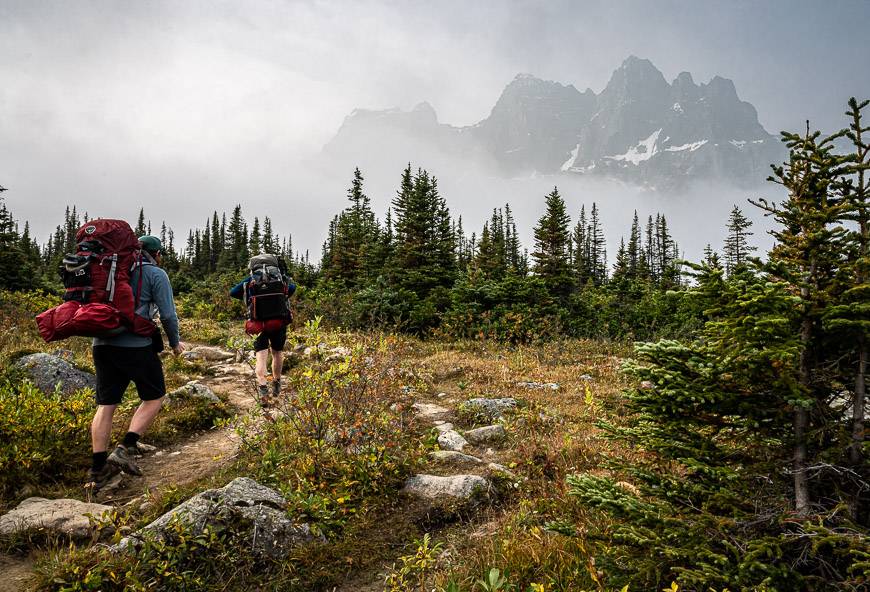
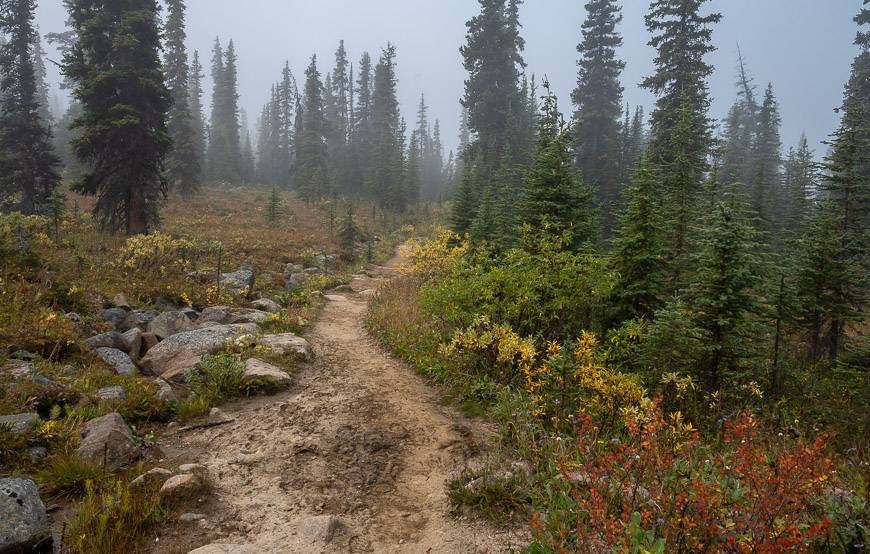
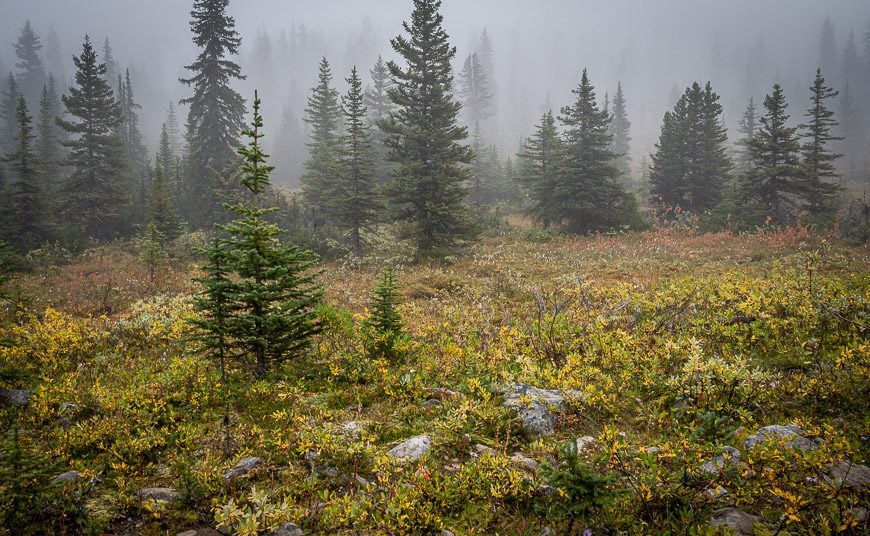
The 9 km hike to Maccarib Campground is surprisingly easy. It was especially beautiful once the fog lifted.
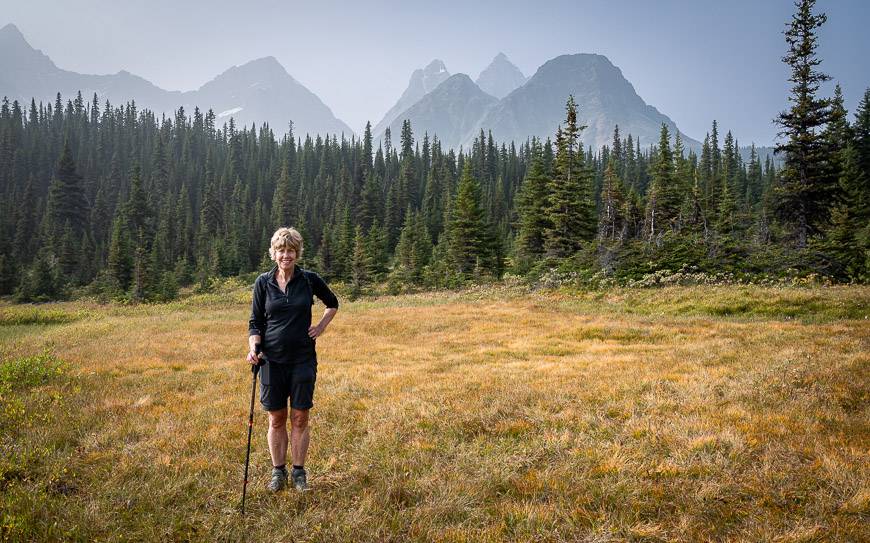
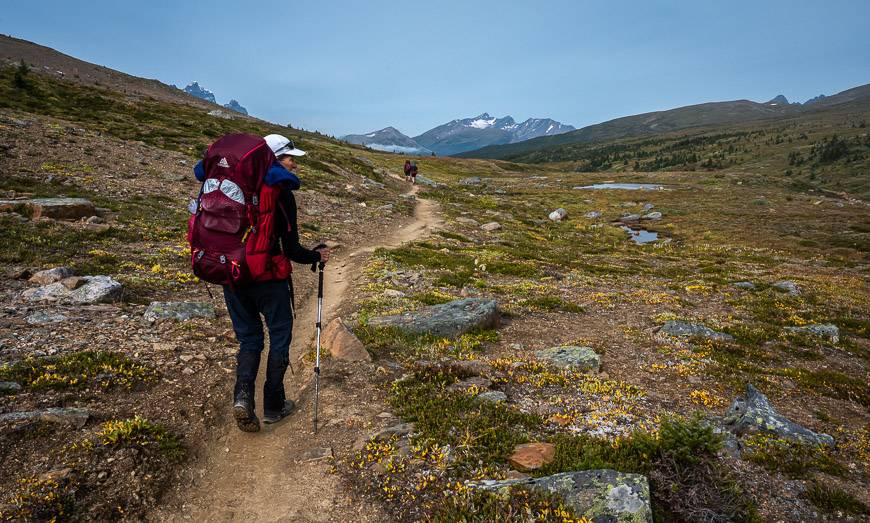
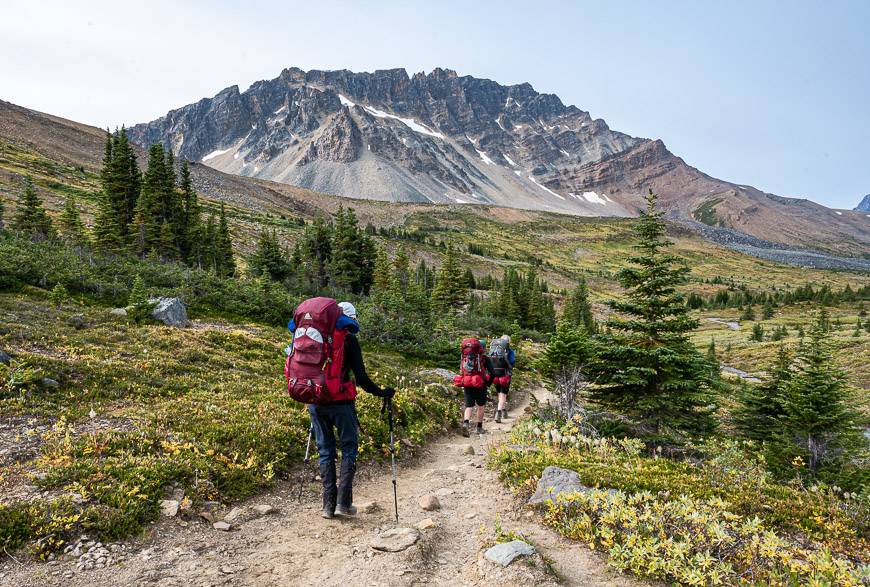
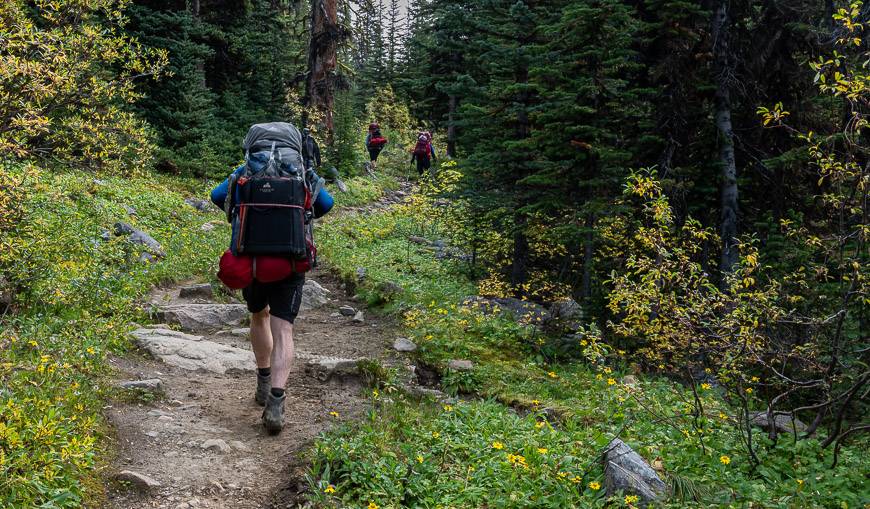
The trail climbs gradually through sub-alpine meadows – where we enjoyed the last of the summer wildflowers in bloom. Then it steepens on the way up to Maccarib Pass but it’s never onerous. Reach the pass 3.4 km after leaving the campground.
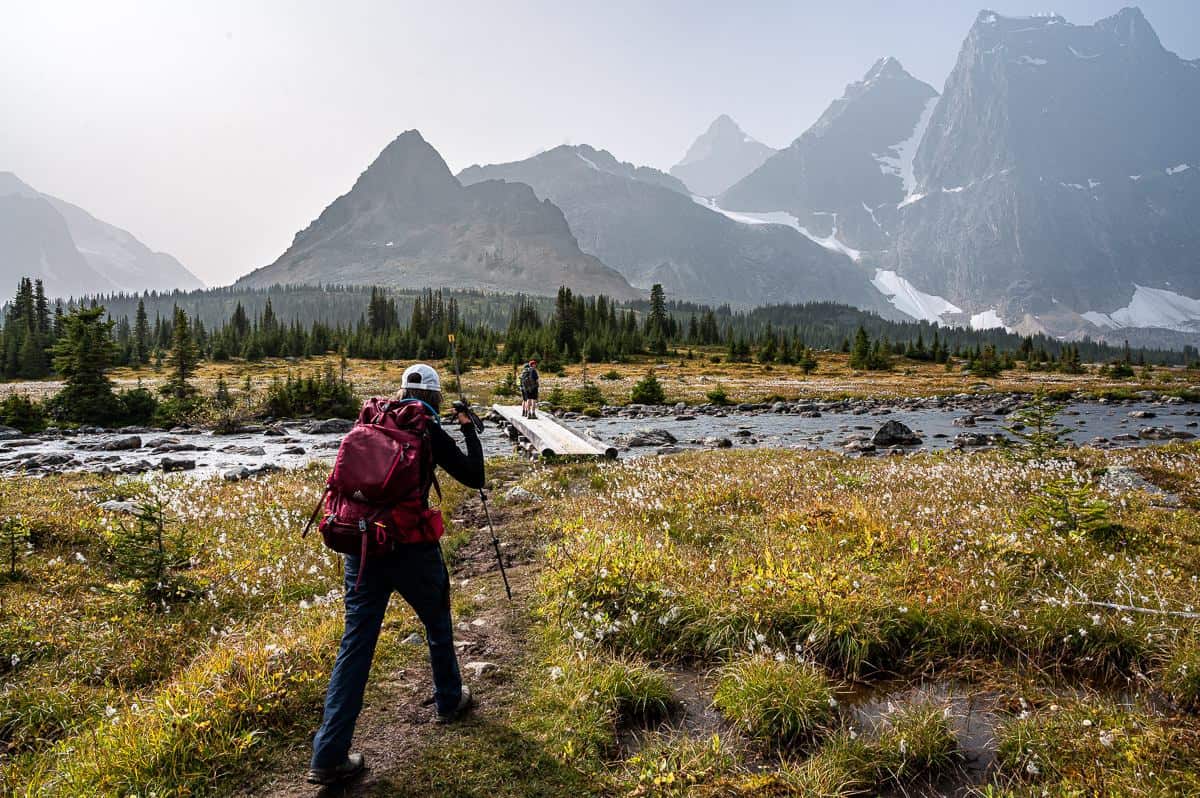
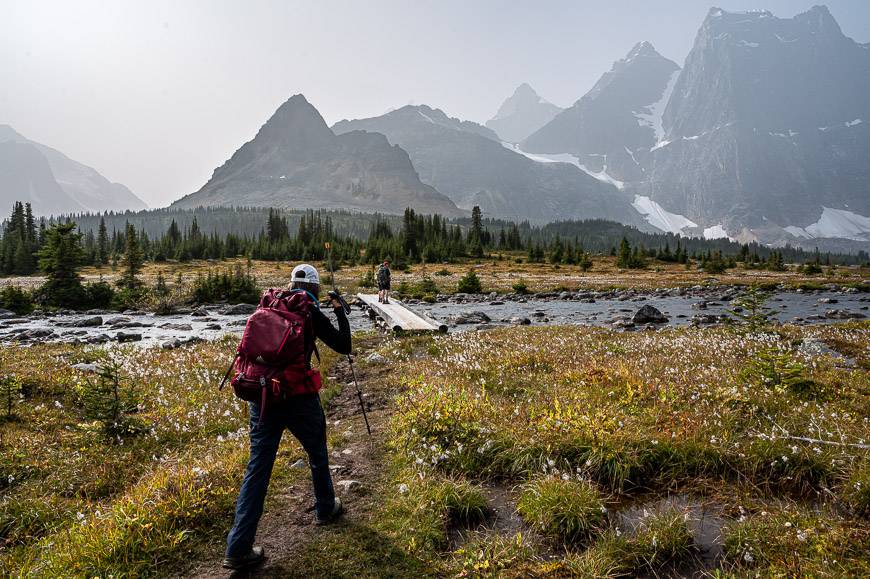
From the pass descend to Maccarib Creek and follow it through meadows, crossing numerous bridges as you get closer to the campground.
This section is marshy and muddy, but fortunately bug free when we went through. The Maccarib campground is across a bridge and on the north bank of the creek, up a short distance on a knoll in the trees. This was an easy day of hiking, taking us perhaps four hours with a lunch break.
From the campground we did an hour’s hike on a trail that leaves the north end of the campsite. We went far enough to get some lovely views of the Amethyst Lakes and the Ramparts and then returned to drink wine and relax.


Day 3 – Maccarib Campground to Clitheroe Campground + a side-trip to Chrome Lake and Wates-Gibson Hut
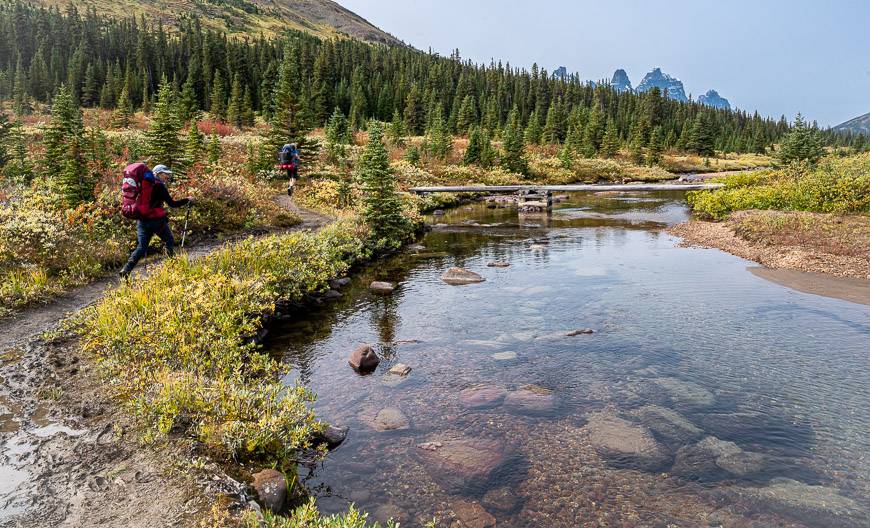
On the third day we woke to smoky skies but at least it wasn’t raining. From the Maccarib campground it was an easy hike to reach the Amethyst Campground.
Early on this section of the Tonquin Valley hike we enjoyed some views of the Amethyst Lakes. It took us only about an hour to travel between the two campgrounds.
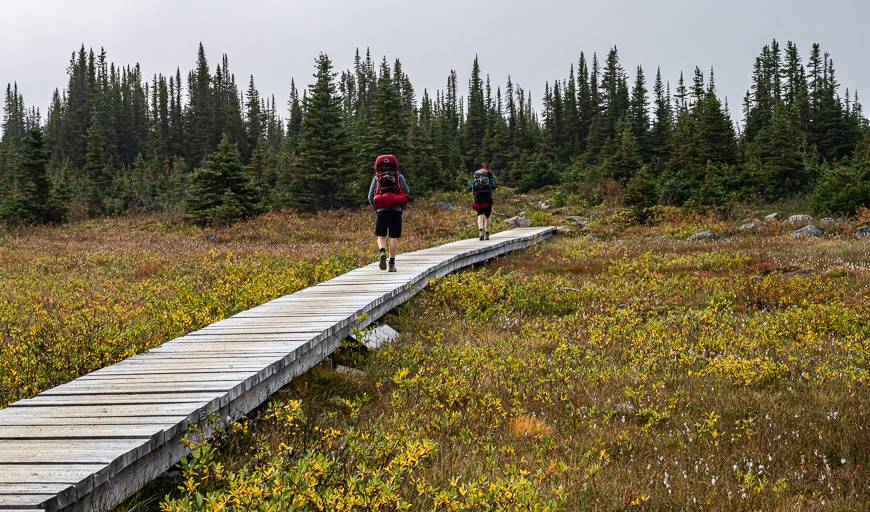
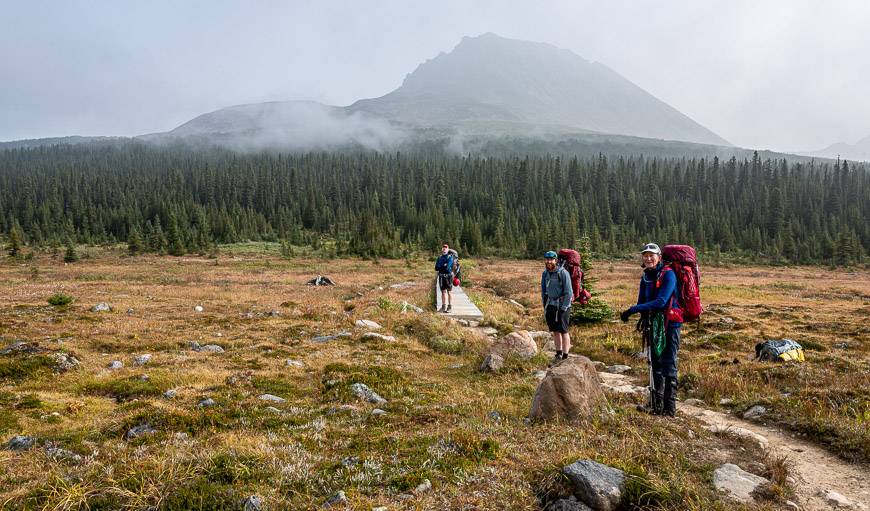
After checking out the Amethyst Campground and admiring the views in all directions from it – we continued on a mostly level Tonquin Valley trail past stunted trees and great swaths of mop-head flowers to reach a long boardwalk over a bog.
The only real climbing of the day happens at the end of the boardwalk on the way up to Clitheroe Campground. In fact, we were all a little shocked at how quickly we got there.
Clitheroe Campground is located in dense trees and is more spread out than most. Although it wasn’t my favourite it does offer the convenience of easy access to the Chrome Lake – Surprise Point Campground – Wates-Gibson Hut and Eremite Valley side trips.


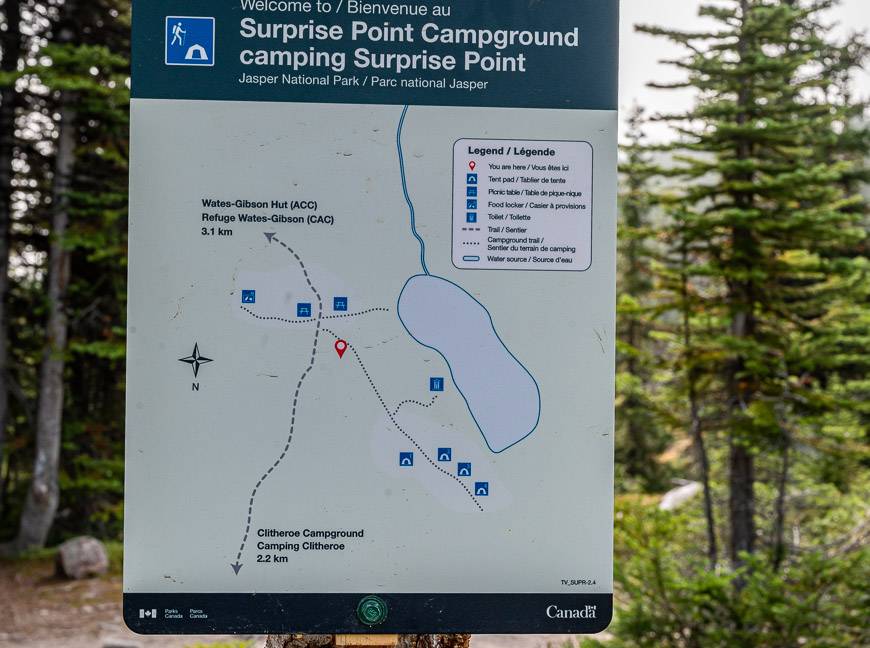
Side trip to Surprise Point Campground, Chrome Lake, Wates-Gibson Hut and Outpost Lake
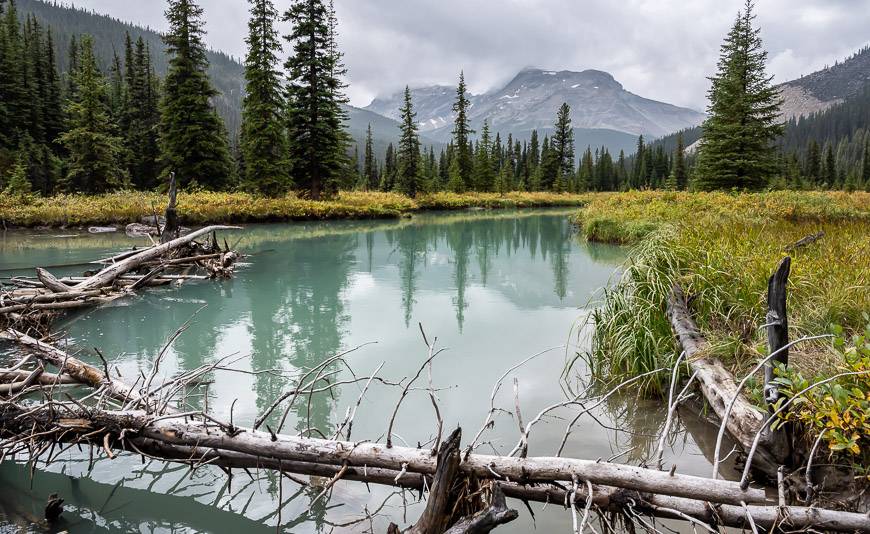
We had lots of time on our hands, so we decided to check out Surprise Point Campground. It is accessed via a trail that descends to the Amethyst Lakes Basin, passing an old warden’s cabin on route.
When you reach the low point stay left and make your way through boggy ground, following a well-trodden trail to a bridged outlet stream. This is a gorgeous area and well worth a visit.
After crossing the bridge continue for about 300 m to reach the Surprise Point Campground. This was my favourite campground though it would be a hassle to get water unless you took it from the “lakelet” at the western edge of the camp. The views of Dungeon and Redoubt Peak make up for a walk to get fresh water.
Next, we continued on a rough, narrow trail for about 1.6 km. This trail is nothing special, but it does take you to an intersection.
If you go left, you can visit Chrome Lake. Go south to explore the Eremite Valley or turn right (west) to head for the Wates-Gibson Hut and Outpost Lake.
We paid a quick visit to Chrome Lake – a mucky spot and a pretty enough lake but nothing you must see. However, the hike across meadows, alongside streams and finally up to reach the Wates-Gibson Hut is entirely worthwhile. And Outpost Lake just a minute’s walk from there is lovely, though no swimming is allowed.


Day 4 – Clitheroe Campground to Astoria Campground
I enjoyed this section of the Tonquin Valley hike far more than I thought I would. After a short climb, the trail descends at a moderate gradient through subalpine meadows with some decent views across to Dungeon and Parapet Peaks.
Pass the turnoff to Switchback Campground about 4 km into the hike. Continue switch-backing down through the forest – passing a junction to a well-used and often very wet trail that takes you to Chrome Lake and the Alpine Club of Canada hut. Continue across a rockslide beneath Oldhorn Mountain. Heed the signs and move through the area quickly.
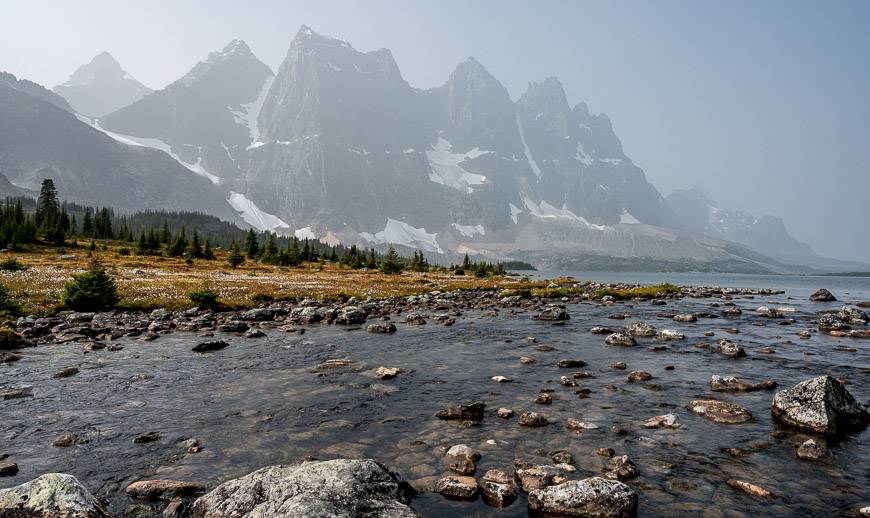
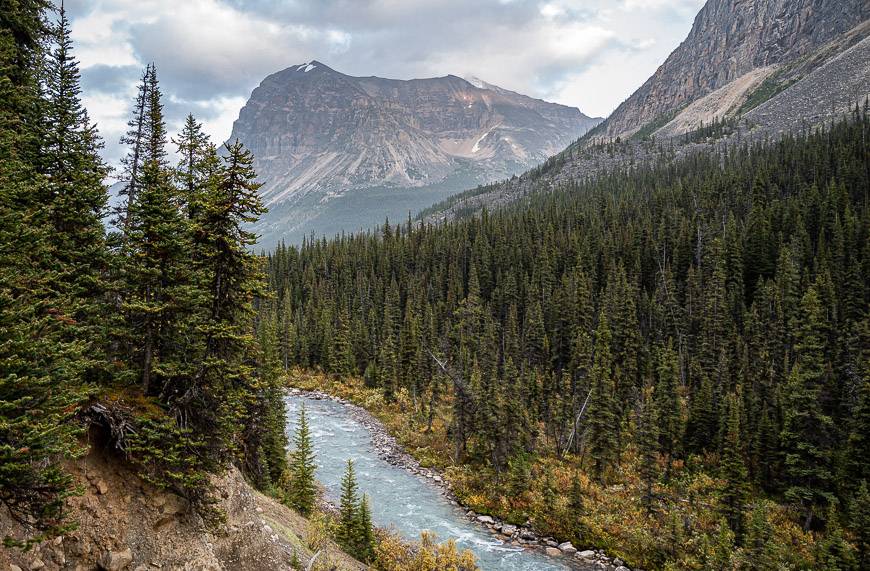
Follow the Astoria River on a gentle gradient through the forest, sticking to the north bank of the river. We stopped to enjoy lunch along the river with a view – three photos below.
From there it’s a short hike followed by a steep climb up to the Astoria Campground. A lot of people who aren’t planning to stay overnight hike up for the glorious view up and down the Astoria River. Campsites are well-spaced and flat.
Day 5 – Astoria Campground to Astoria River Trailhead
This last day of hiking is short and easy. We knocked off the 7 km in about 1.5 hours.
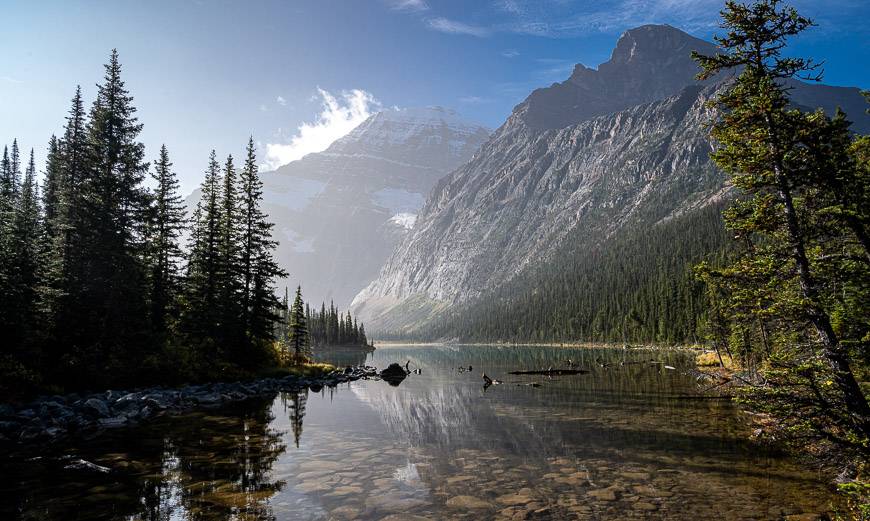
Follow the pretty Astoria River, stopping to admire beautiful wildflowers and mushrooms along the way. The final five minutes of the hike were the most scenic – with wonderful views of Mt Edith Cavell by the Cavell Lake outlet stream, just before the last 15 m climb up to the Astoria parking lot.

Where can you stay before the Tonquin Valley hike?
We stayed in Banff the night before so we could shorten the driving time on the first day of hiking. Some tried and true suggestions include the Moose Hotel, the Mont Royal Hotel and the Canalta Lodge.
Alternatively stay in Jasper – and that way you could make it as far as the Maccarib Campground on the first day out hiking.
There are a couple of hostels including Athabasca Falls Wilderness Hostel (being rebuilt after the Jasper fire) or the Jasper Downtown Hostel.
Or choose one of the hotels in town like The Crimson Jasper or Whistler’s Inn.
How do you get to the trailheads for the Tonquin Valley hike?
To the Astoria Creek Trailhead
If you’re coming from Jasper, drive the Icefields Parkway towards Banff. Immediately after the park gate turn right onto highway 93A. Continue for 5.2 km.
Then turn right onto the Edith Cavell Road. The trailhead is across from the Edith Cavell Hostel, at km 12 on the road. Parking can be at a premium and you might have to wait for someone to leave.
From Banff and Lake Louise get on the Icefields Parkway and follow it north towards Jasper. Take a left at the signed junction to Highway 93A and Athabasca Falls, 200 km north of Lake Louise. Continue for 18.8 km. Turn left onto the Edith Cavell Road. Look for the trailhead across from the Edith Cavell Hostel, at km 12.
To the Portal Trailhead
The Portal Creek trailhead is on Marmot Road – and is accessible year-round.
From Jasper take the Icefields Parkway and head south towards Banff. Turn right onto Highway 93A, right after the park gate. Continue for 2.4 km.
Then turn right onto Marmot Road. Look for the trailhead on your left at km 12. It is marked by a hiker sign.
From Banff and Lake Louise take the Icefields Parkway north towards Jasper. Take a left at the junction to highway 93A and Athabasca Falls, 200 km north of Lake Louise. Stay on 93A for 21.5 km. Turn left onto Marmot Road and follow it for 12 km.
I am very happy we did the Tonquin Valley hike in September. Of note, this is one of the better family-friendly multi-day trips you might want to try with your kids, if they’re into hiking.
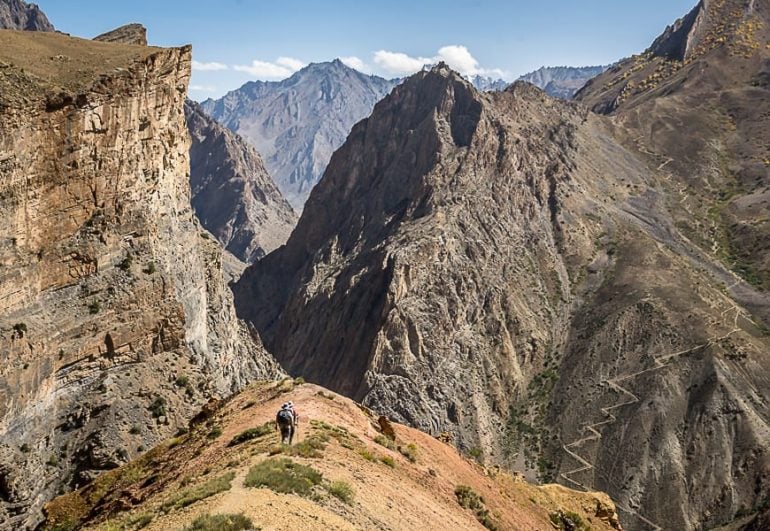
More backcountry multi-day hiking trips you might enjoy
- 10+ Must Do Backpacking Trips in Kananaskis Country
- Brazeau Loop Trail Hike in Jasper National Park
- Sunset Pass & Sunset Lookout Hike – Icefields Parkway
- A 3 Day Backpacking Trip that Includes Egypt Lake
- Geraldine Lakes Hike, Jasper National Park
- Skoki Loop hike, Banff National Park
Click on the photo to bookmark to your Pinterest boards.
Thank you for this great article. I was wondering if it’s possible to hike the trail early October. Do you have any experience/information regarding this option?
Hi Tom,
It is literally hit or miss and is totally weather dependent. Some years the snow comes early, others it might be cold but amazing. If you can book at the last minute you might stand a chance. You could also phone the people at Jasper National Park (they return calls) and get their intel. If the weather cooperated it would be an amazing time to do it.
This was so helpful!
@Samantha – Glad to hear it!